
Blog
Router & Router Bit Complete Maintenance Guide: Sharpen Without Professional Equipment

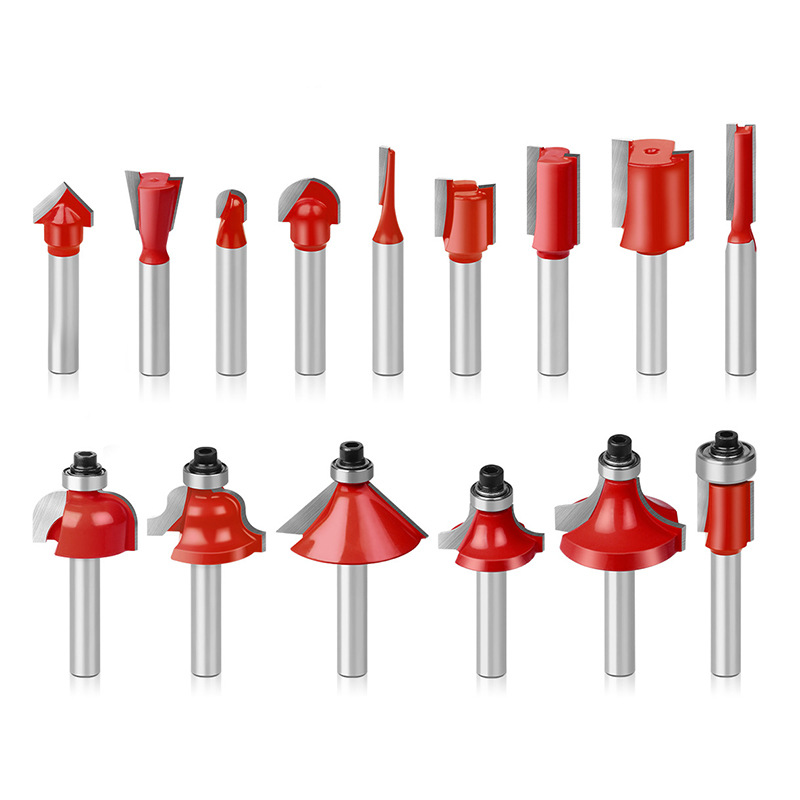
Router bit maintenance is the cheapest insurance a woodworking shop can buy. Heat and dust are the two biggest threats to power tools, and dirty cutting edges create both. Clean machines and clean cutters run reliably for years without breakdowns. This guide covers bit cleaning, bearing service, simple sharpening, motor dust removal and collet care, all with tools you already own.
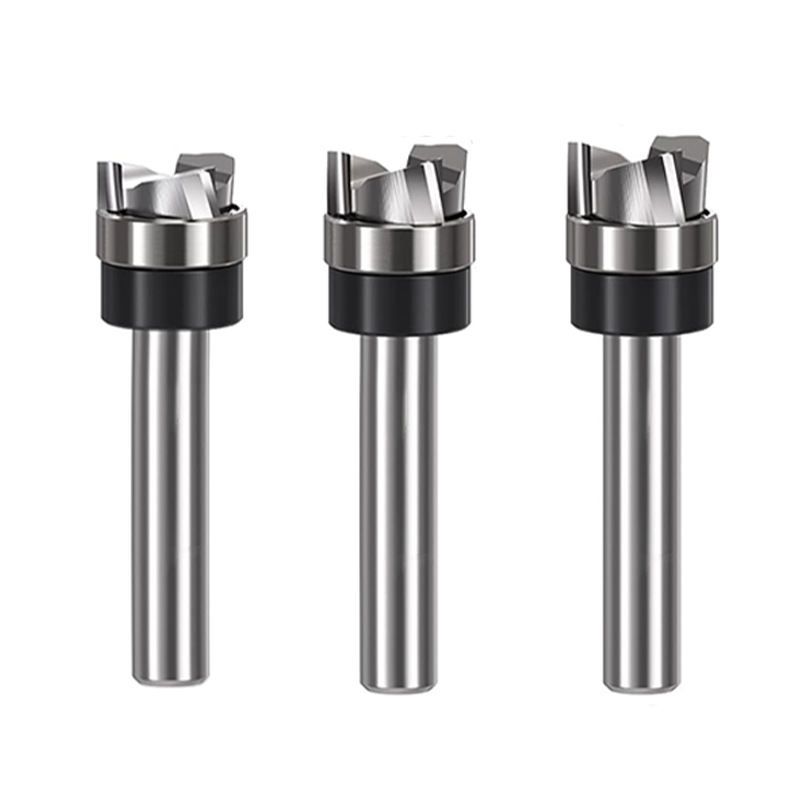
The routine below works whether you run profiling sets or joinery tools such as our T-type router bits. Follow it whenever a bit comes out of the collet, and your tooling will last far longer.
Router Bit Maintenance
1. Resin and Pitch Buildup
When carbide-tipped router bits cut wood, sap and resin accumulate on the cutting edges. Softwoods such as pine can gum up a bit after only tens of feet. Hardwoods like oak and ash show heavy pitch buildup later, usually after months of use.
Resin buildup raises cutting-edge temperature and increases load on the carbide tips. In turn, the extra heat dulls edges and damages both the tool body and the brazed joints that hold the carbide in place. Remove buildup early, because hardened pitch is far harder to shift later.
Note: high-speed steel router bits are rarely used nowadays, so this guide focuses on carbide.
2. Servicing Bearing-Guided Bits
Bearings fail more often than any other part on profile bits. They must spin freely; if they bind, they leave shiny compression marks on your workpiece, and a seized bearing burns straight into the timber.
- Removal: take off the bearing with an Allen wrench. Some models include brass washers underneath, so do not lose those shims.
- Cleaning: place the bearing in a small sealed container, since an old 35 mm film canister works perfectly. Add solvent, shake vigorously for several minutes, then blot off excess solvent with paper towels.
- Air blow-off: never hold the bearing between your fingers while blasting compressed air, because high-speed air can launch it and cause injury. Clamp it with pliers wrapped in electrical tape first.
- Lubrication test: before service, a bearing stops after roughly four rotations when spun by hand. Once properly cleaned and lubricated, it should spin freely for more than a dozen rotations. Replace the bearing if cleaning fails to restore smooth rotation.
- Installation: clear all wood debris from the bearing stud and threaded hole, or the bearing may seize and become impossible to remove later. Reinstall it, tighten the Allen screw, then recheck fastener security after a short test run. Add dedicated bearing grease that resists dust adhesion.
Here is the overview in one line: disassemble and clean the bearing, scrub the body with a brass brush, touch up the edges, then refit the bearing securely and apply lubricant.
3. Cleaning the Tool Body and Cutting Edges
Use a cleaner made for the job, specifically a woodworking router bit cleaner designed to dissolve sap and pitch.
Critical warning: never use oven cleaner. Those harsh corrosive cleaners etch carbide cutting edges and weaken the brazed layer holding the tips, so they permanently ruin your router bits.
The shank that contacts the collet also needs regular care, since built-up residue makes bits slip or jam inside it. Inspect and clean the shank every time you swap bits. Use coarse steel wool for stubborn deposits and medium steel wool for routine cleaning.
4. Edge Inspection and Simple Sharpening
Inspect cutting edges visually each time you change bits. For deeper checks, use a magnifying glass to look for chipping and dullness.
Discard any bit with large broken sections on the cutting edge, because those cannot be repaired. Minor chips can be touched up with a dual-sided foldable diamond sharpener in 600 grit and 1200 grit. Grind dry with no coolant, and make light back-and-forth passes on the flat face of the cutting edge only.
5. Protection and Storage
Spray cutting lubricant before machining, which reduces sap buildup and lowers both friction and heat.
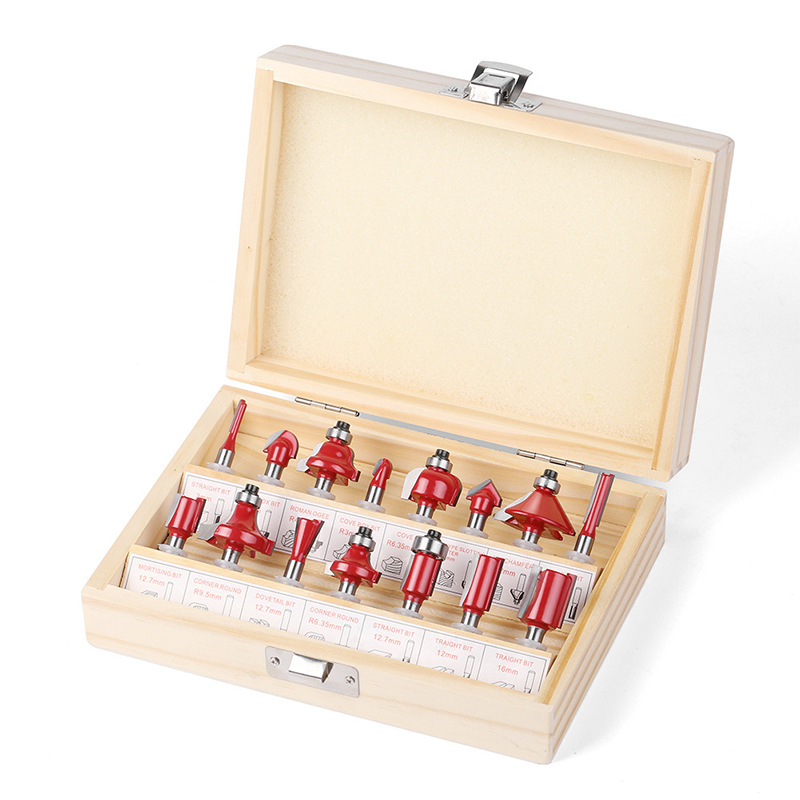
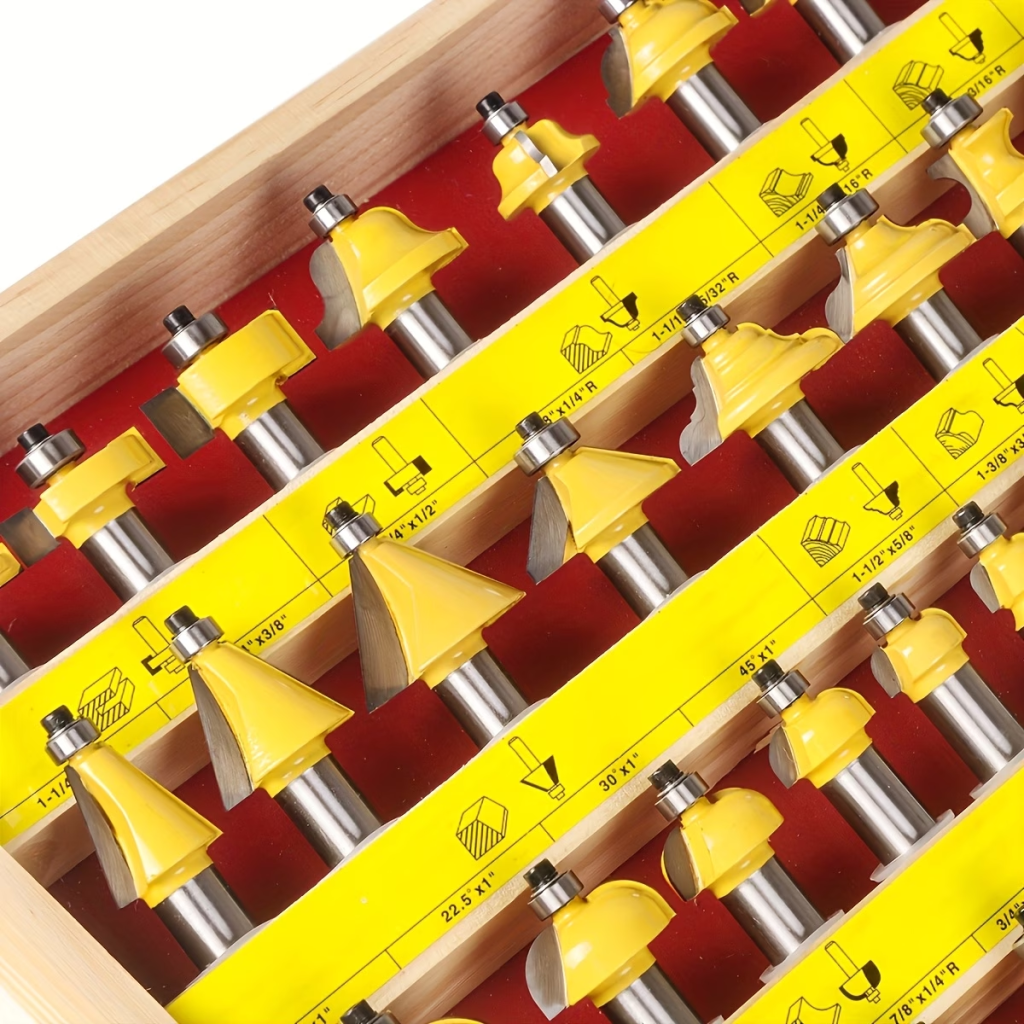
For storage, never toss router bits loosely into drawers, because impacts nick the cutting edges. Avoid pushing bits directly into holes drilled in solid wood either, as moisture inside the timber rusts shanks and locks bits inside collets. Composite router bit storage blocks are the better answer, whether wall-mounted or fitted inside a cabinet.
Wood Router Machine Maintenance
Unplug the power cord before starting any maintenance. Inspect the cable at the same time, and replace the plug immediately if the cord is damaged, the prongs are loose or the ground pin is missing.
Dust Extraction for Enclosed Router Tables
If your router sits inside an enclosed table, high-performance dust collection is mandatory, or tool life drops drastically. Dust lines must pull chips near the bit and also draw air from the front of the table to keep the motor cool.
Side-by-side testing confirms this: routers with complete dust collection stay clean and run cooler inside the enclosure, while open-style tables trap far more dust and run at noticeably higher temperatures.
Motor and Cooling Vent Cleaning
Use an industrial vacuum to remove large chips from the upper and lower ventilation openings. Then use compressed air with a precision nozzle to blow fine dust out of the motor, plunge mechanism and collet assembly.
Internal dust reduces cooling efficiency and raises operating temperature. Dust packed inside motor bearings also increases rotational resistance, which accelerates both heat buildup and wear.
Carbon Brush Inspection and Replacement
Most routers include a carbon brush access port on the side. Watch for two warning signs: power loss and excessive sparking around the motor. Open the port, remove the brushes and check their wear. Consult your manual or the manufacturer’s website for the minimum acceptable length, then replace brushes once they pass that limit.
Deep Cleaning the Collet Assembly
- Remove the collet nut and sleeve, then soak them in solvent.
- Clean inside the spindle with a brass or hard nylon brush.
- Scrub the inner collet with a small brush. Fold kraft paper into thin strips and run it back and forth inside the collet gaps, then clean the central bore thoroughly.
- Clear debris from the spindle threads and the internal threads of the collet nut.
- On plunge routers, service the sliding plunge mechanism per your model’s official manual.
- Inspect the base for burrs or raised edges, since those scratch workpiece surfaces during routing.
Frequently Asked Questions
How often should you clean router bits?
Clean them whenever pitch becomes visible, which for pine may mean every session. Hardwoods need attention far less often, typically after heavy use over weeks.
Can you sharpen a router bit at home?
Yes, but only for minor chips. Touch up the flat face with a 600/1200 grit diamond sharpener and grind dry. Bits with large broken sections should be replaced, not repaired.
Why does my router bit burn the wood?
Burning usually means resin buildup, a dull edge or too slow a feed rate. Clean the bit first, then check edge condition, because friction rises sharply once pitch hardens on the carbide.
When should the bit bearing be replaced?
If it still stops within a few rotations after cleaning and lubrication, replace it. A bearing that drags will burn the timber and can seize during a cut.
Build the Habit, Skip the Breakdowns
A few minutes of scheduled maintenance reduces unexpected downtime, extends the lifespan of your router and bits, and prevents a lot of headaches on the job. Set up a simple routine: clean the bit, clean the collet, clear the motor vents and store cutters properly. Then get back to cutting, and review our T-type router bits for joinery whenever your kit needs a reliable addition.