
Blog
Advanced Trim Router Tips: How to Cut Straight Grooves & Decorative Profiles with Straight Router Bits

A trim router is a compact, versatile power tool. Woodworking hobbyists and professional cabinetmakers both rely on it. Many users only use it for simple edge trimming. However, advanced operation techniques unlock its full potential. With proper setup and steady control, a trim router fitted with straight bits can cut clean straight grooves. It can also replicate contours through flush trimming. In addition, it creates elegant decorative edges on solid wood, plywood and composite panels.
This step-by-step guide covers three core advanced trim router operations. First, you will cut accurate straight grooves. Next, you will perform precision flush trimming. Finally, you will machine decorative edge profiles. You will learn practical tips on securing workpieces, guiding tools, setting depth and controlling feed. The goal is smooth, burr-free surfaces.
How to Cut Straight Grooves with a Straight Bit
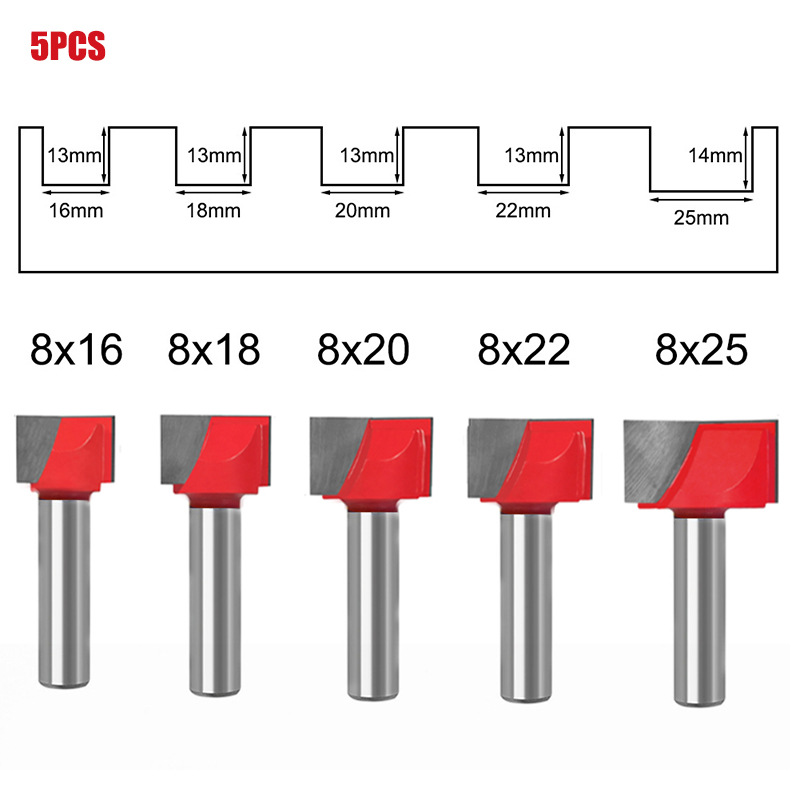
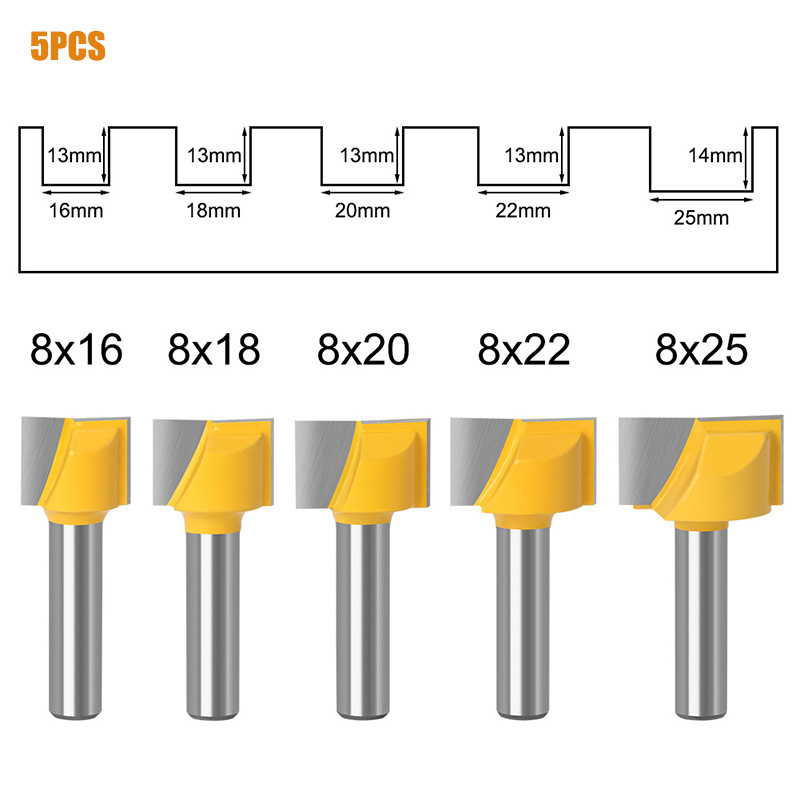
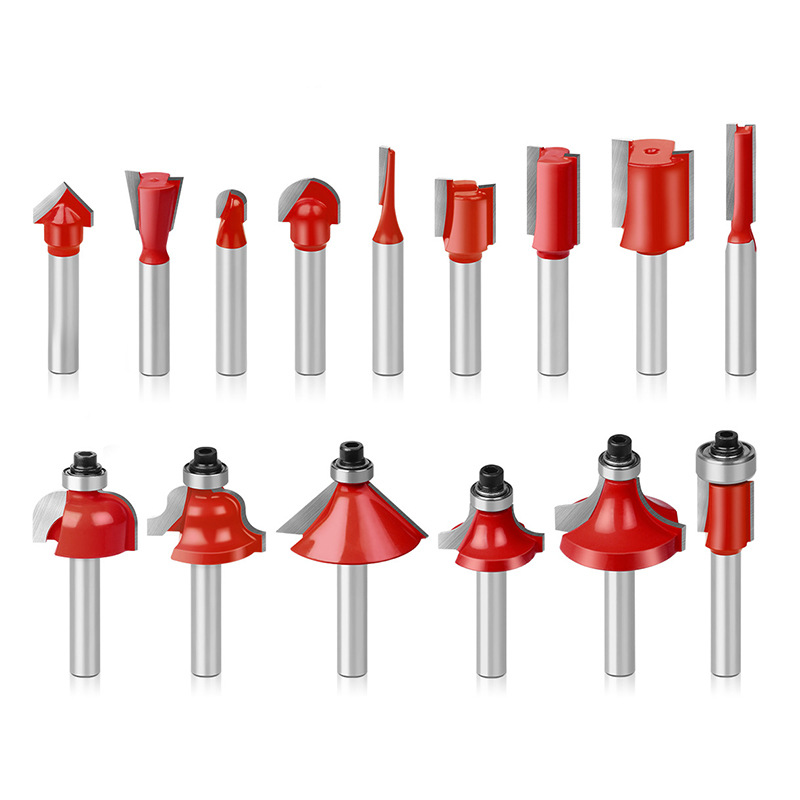
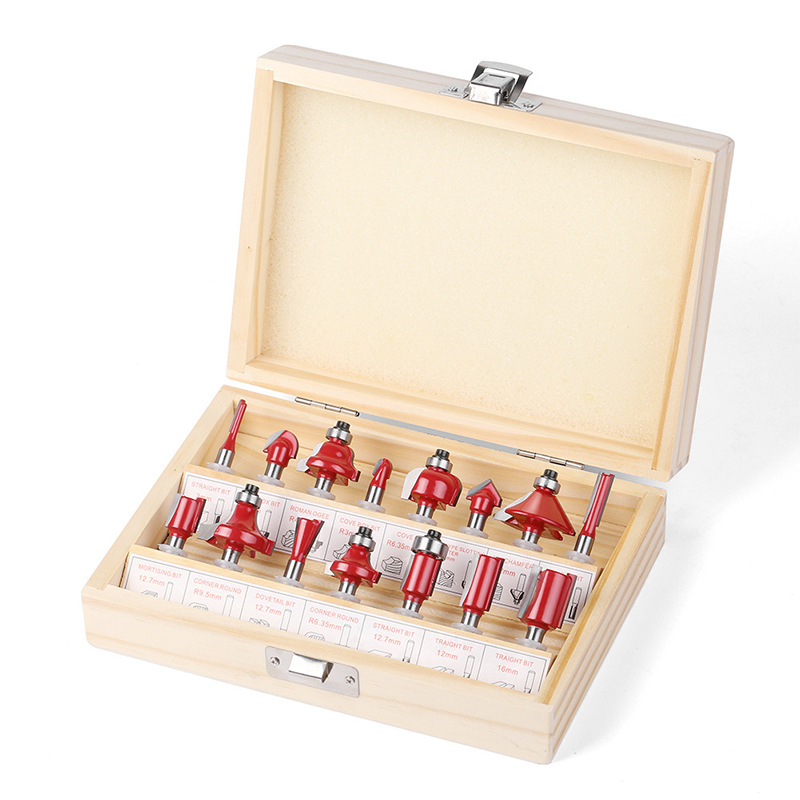
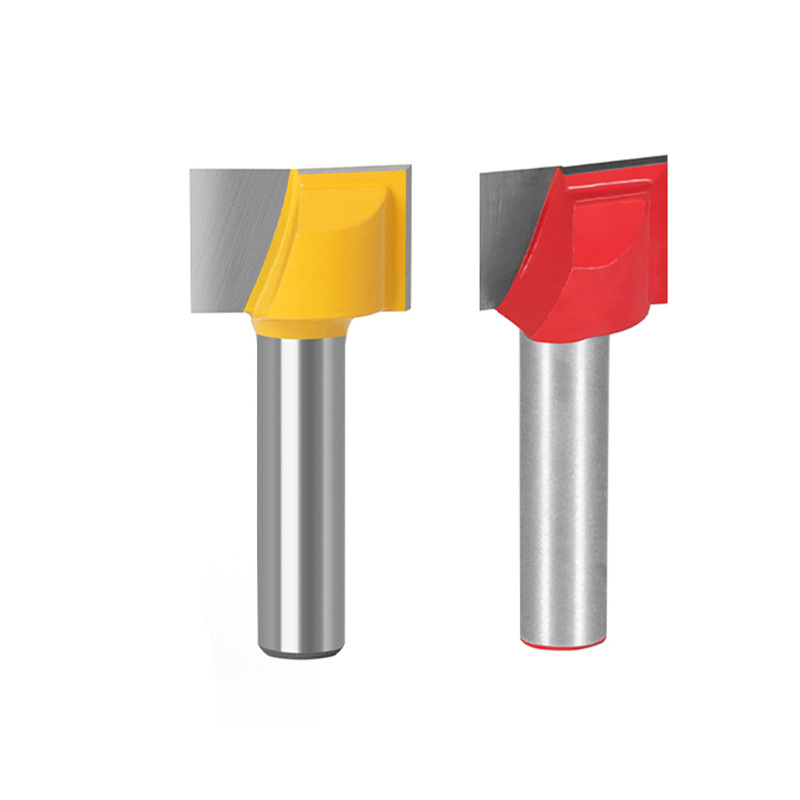
Creating precise linear slots is a common advanced task for a handheld trim router. A reliable guide and careful preparation prevent wandering cuts. They also stop uneven groove widths. For a wider cutter selection, browse our straight router bits before you start.
Step 1: Pre-Cutting Preparation
Plan your cut layout before any machining. Mark a clear cutting guideline on the workpiece. This visible reference keeps your router on track. Secure the workpiece to the bench with clamps. Loose pieces may shift under cutting force. As a result, they cause inaccurate cuts or safety hazards.
Step 2: Install and Align the Guide
Attach a straight edge guide to your trim router. This accessory works as a physical fence. It restricts lateral movement and keeps the bit on a straight path. Therefore, it removes guesswork and cuts the risk of drifting off your line.
Step 3: Set the Cutting Depth
Adjust the router base to set your cutting depth. Set it slightly deeper than the material thickness. Always test the depth on a scrap piece first. This quick check prevents costly mistakes on your final workpiece.
Step 4: Execute the Cut
Start the router and let the bit reach full speed. Then touch the wood gently. Move the router base steadily along your marked line. Keep light, even pressure through the whole pass. In short, smooth motion beats force.
Tips for Maintaining Uniform Feed Speed
- First, keep the trim router moving at a steady feed rate for consistent cutting.
- Second, avoid rushing or moving too slowly. Fast feeds tear fibers; slow moves burn the surface.
- Finally, press gently against the guide fence. Let the guide steer the router path.
Advanced Trim Router Technique 1: Flush Trimming for Contour Matching
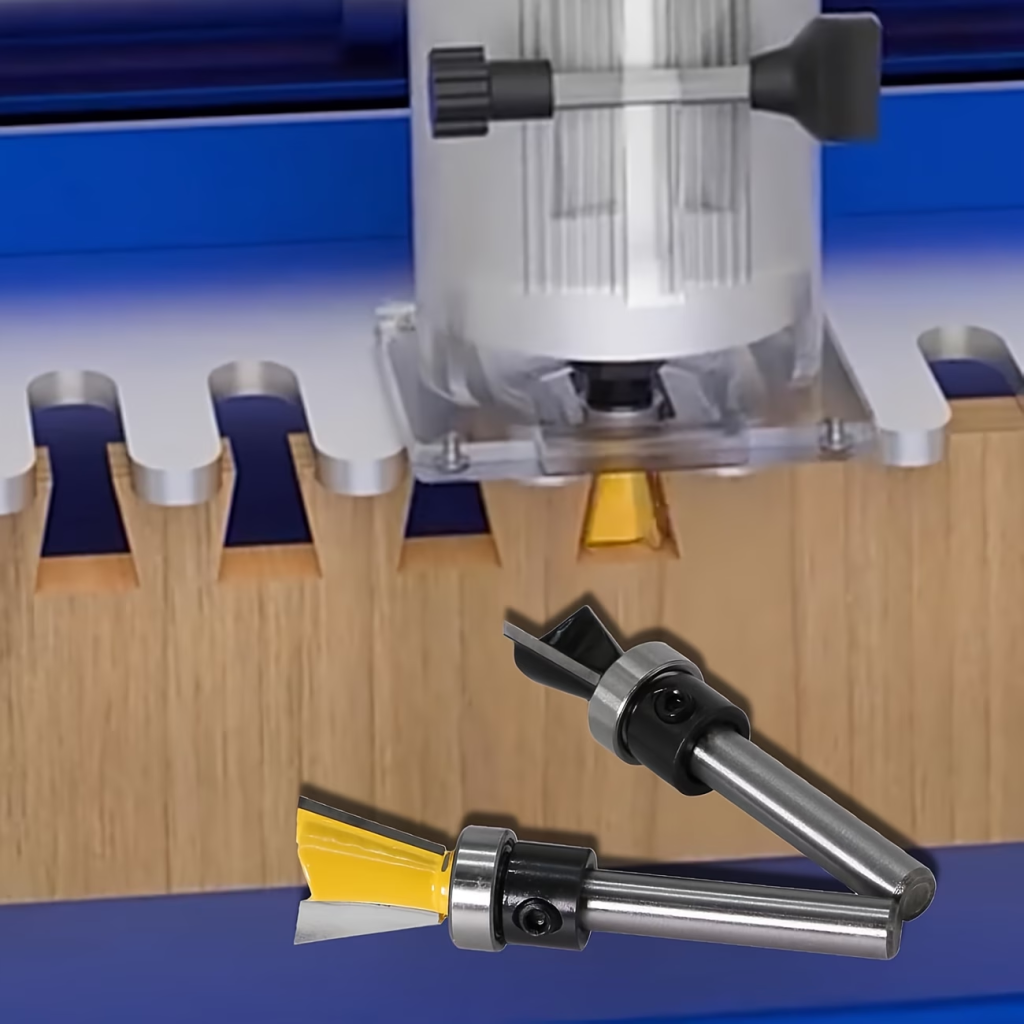
Flush trimming copies the profile of one workpiece onto a second blank. It is widely used for tenon and mortise joints. The method relies on a bearing-guided flush trim bit. This bit traces a master template or reference piece.
Step 1: Prepare Two Workpieces
First, you need two wood pieces. One is the master template with the finished contour. The other is the raw blank to trim. Next, clamp them together, with the blank on top of the template.
Step 2: Fit the Flush Trim Bit
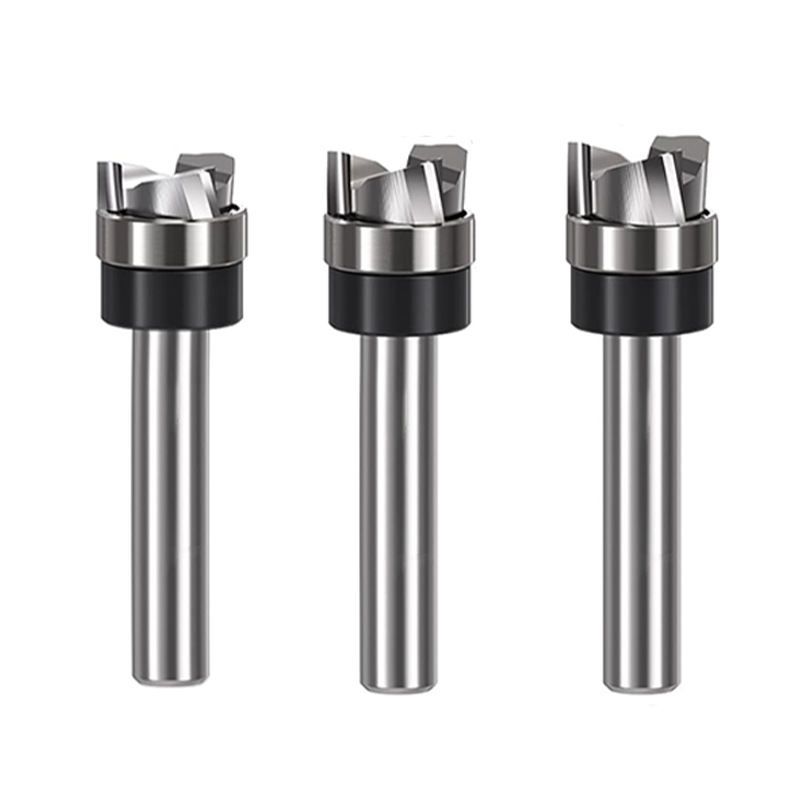
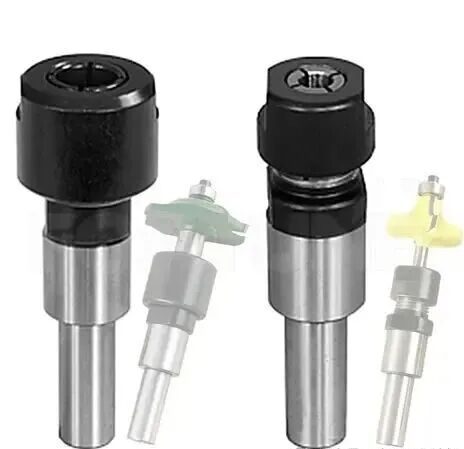
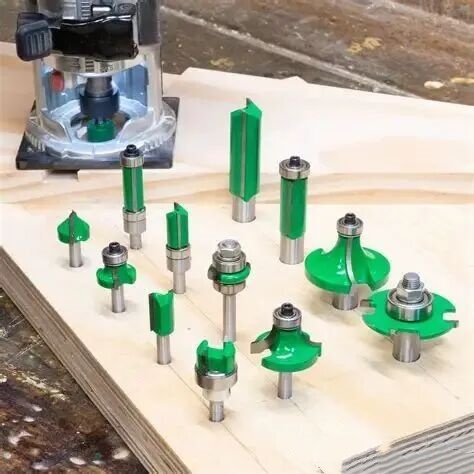
Mount a bearing-guided flush trim bit and tighten the collet firmly. Next, the bearing runs along the master edge. It automatically copies the shape onto the upper workpiece.
Step 3: Adjust Cutting Depth
Release the depth ring on the router base. Set the depth so the bit cuts slightly deeper than the top blank. A small overlap guarantees a clean, flush result.
Step 4: Complete the Trim Cut
Rest the router base flat on the surface. Run the bearing along the template contour. Feed the router smoothly. If you use a cordless trim router, keep light, constant pressure for an even profile.
Advanced Technique 2: Machining Decorative Edge Profiles
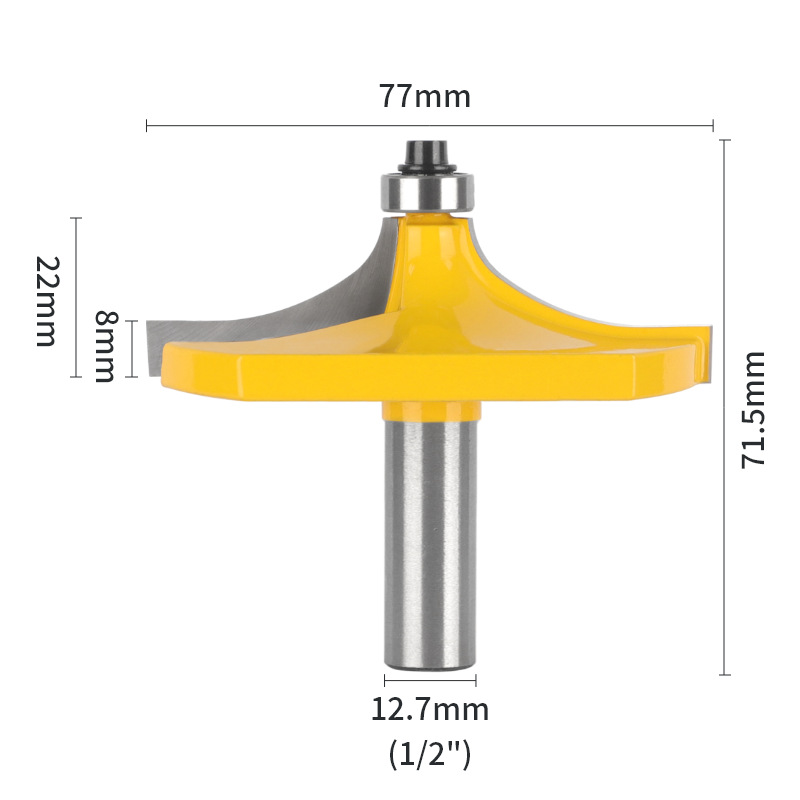
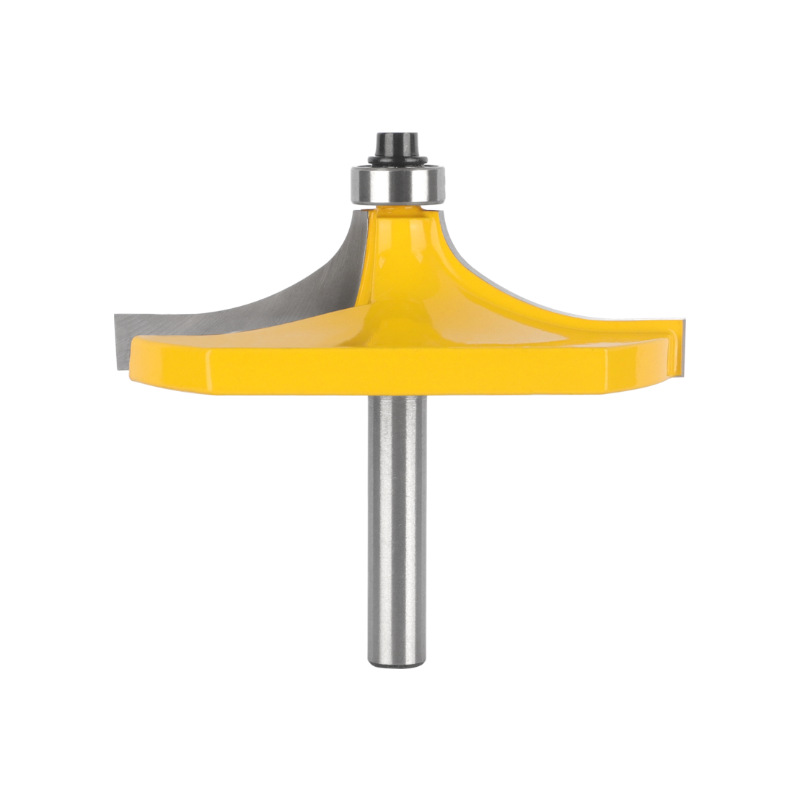
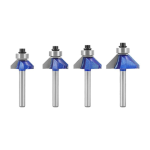
In addition, a trim router excels at custom ornamental edges. Tabletops, cabinet panels and craft projects all benefit. By swapping profiling bits, you can make chamfers, S-shaped mouldings and more. Each bit delivers a unique finished contour for furniture and decorative woodwork.
Step 1: Select Your Decorative Router Bit
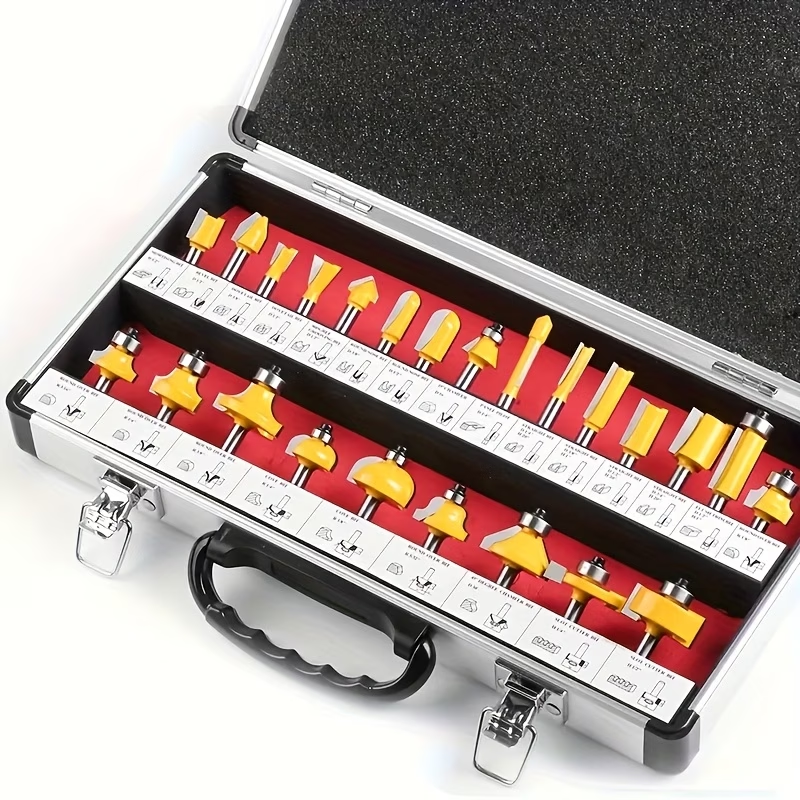
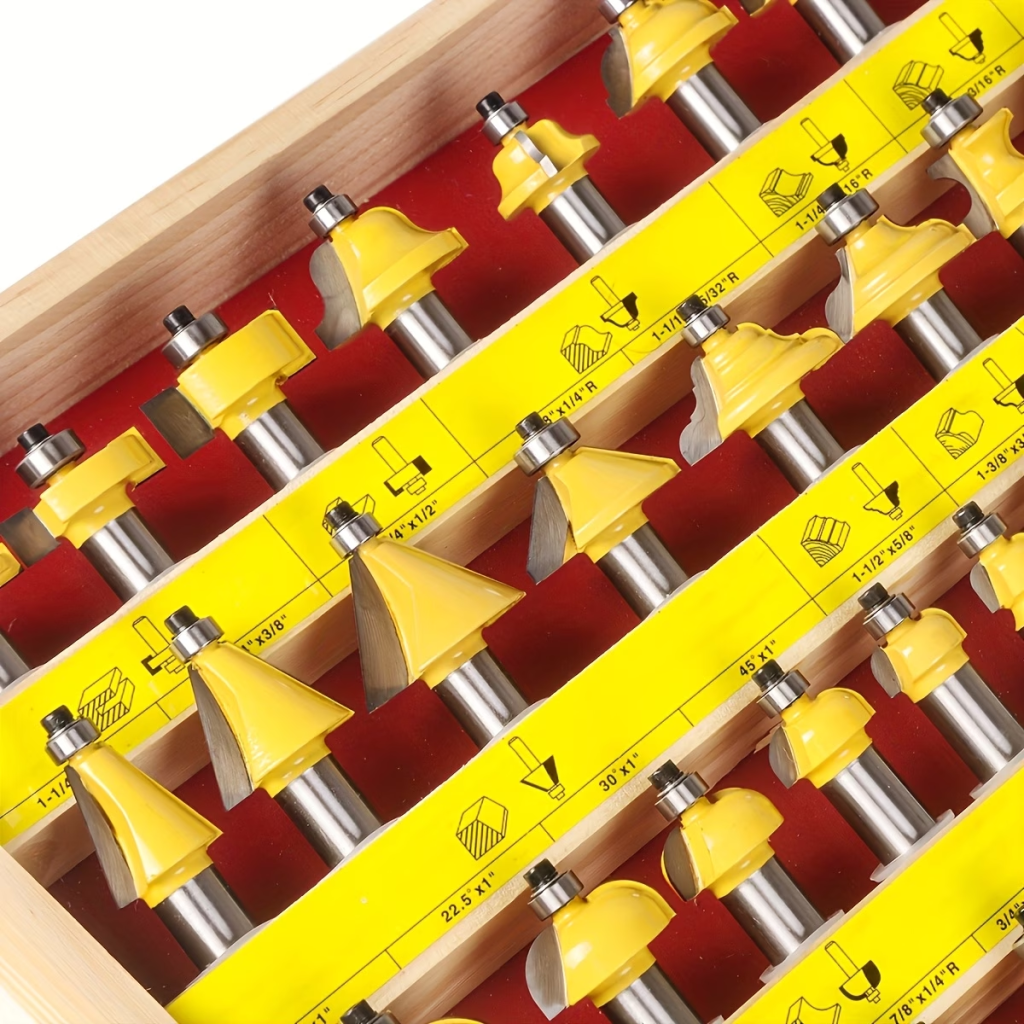
To begin, choose a profiling bit for your design goal. Roundover, concave arc and chamfer bits are popular. Each creates a distinct edge for furniture and decor.
Step 2: Adjust Bit Cutting Depth
Loosen the depth ring and slide it along the bit shaft. Test the depth on scrap wood first. This preview shows the edge profile before the real cut.
Step 3: Run the Cut
Clamp the workpiece or use a bench with stop blocks. Meanwhile, feed it steadily past the rotating cutter. Stable support prevents chatter and uneven edges.
Step 4: Sand and Finish the Edge
Sand the new profile after routing. Sanding removes burrs and rough fibers left by the cutting edge. As a result, the surface is then ready for stain, varnish or other finishes.
Conclusion
A trim router does far more than edge cleanup. By mastering straight grooving, flush contour copying and decorative edge routing, you expand your skills. Always start with preparation: mark paths, clamp firmly and test depth on scrap. Keep steady feed and light pressure to avoid burns and tear-out. With practice and the right guides, your trim router delivers precise, professional cuts for furniture, cabinetry and custom projects.
Ready to upgrade your shop? Explore our trim routers and straight router bits at RouterBitsHub for your next build.
FAQ
Q1: What guide should I use to cut straight grooves with a trim router?
For this reason, a straight edge guide, or router fence, is best. It limits side movement and keeps the bit on a straight line.
Q2: What type of router bit do I need for flush trimming?
Specifically, use a flush trim bit with a pilot bearing. The bearing follows the template and copies its contour.
Q3: Why test cutting depth on scrap wood first?
For this reason, test cuts confirm your depth. They also prevent over-cutting and reveal burn or tear-out before the final piece.
Q4: What decorative edges can I make with a trim router?
For example, common options include chamfer, roundover, concave and classic S-shaped mouldings with the right profiling bits.