
Blog
Router Bit Safety Precautions

Router bit safety precautions protect your workpiece and your hands at the same time. Every router bit spins at thousands of RPM, so a loose collet, a dull edge or a wrong speed can turn a routine cut into an accident. This guide covers inspection, machine checks, correct collet depth, PPE, depth tuning, feed direction and maximum RPM by bit diameter. Use it alongside your manufacturer’s instructions, never instead of them.
Disclaimer: Do not take independent action based solely on the content here. This page is for reference only. It cannot replace manufacturer-supplied guides, operating instructions or safety protocols.

Router Bit Installation & Safety Rules
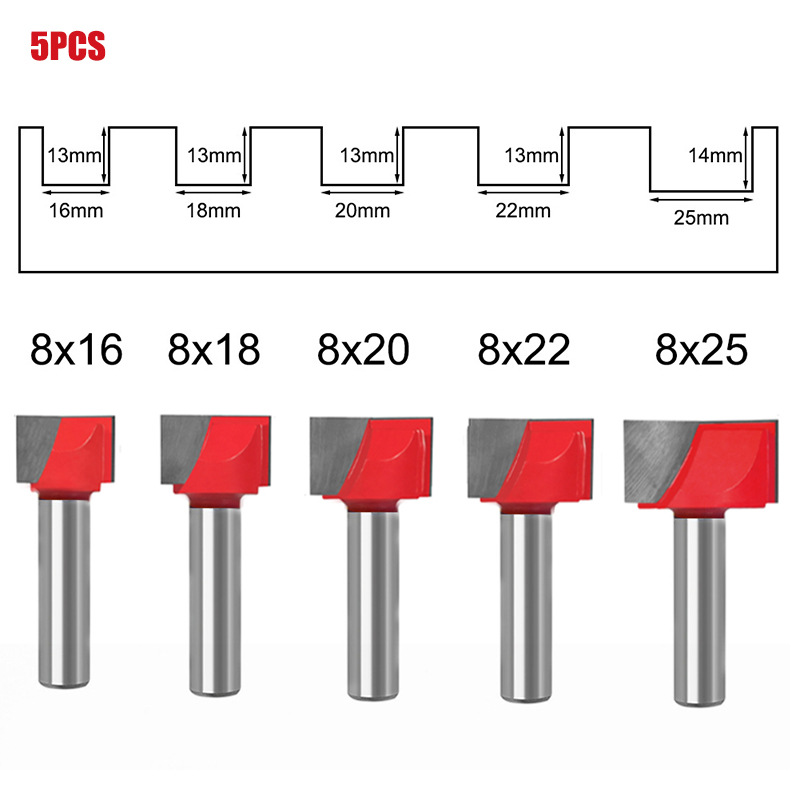
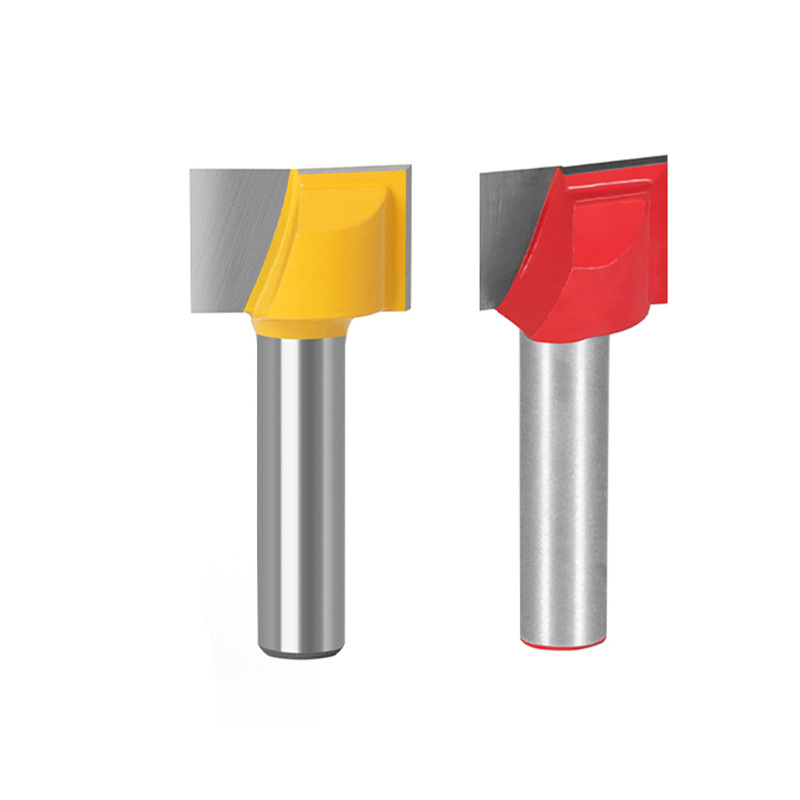
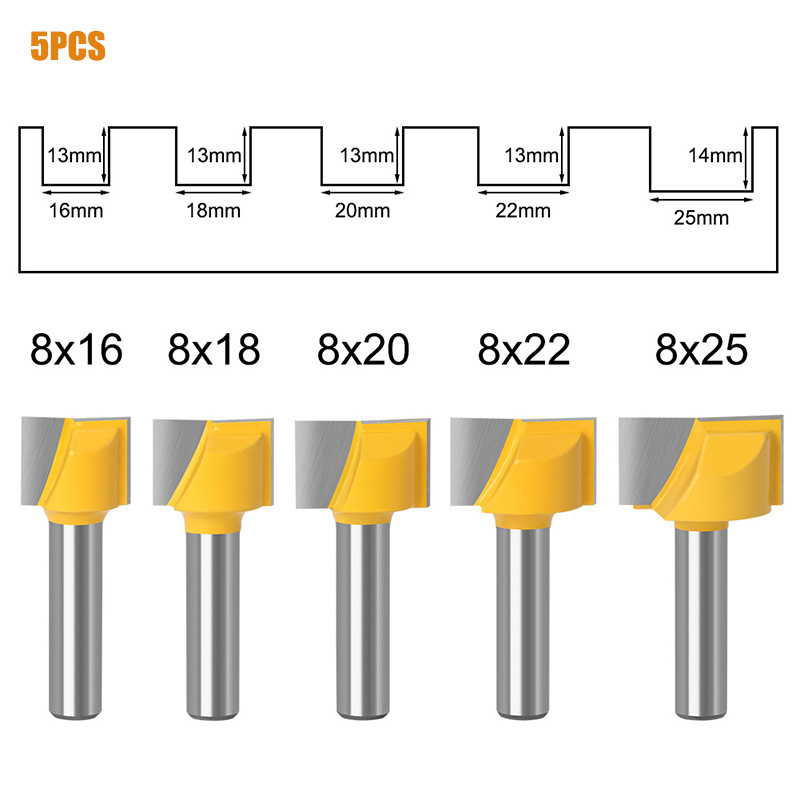
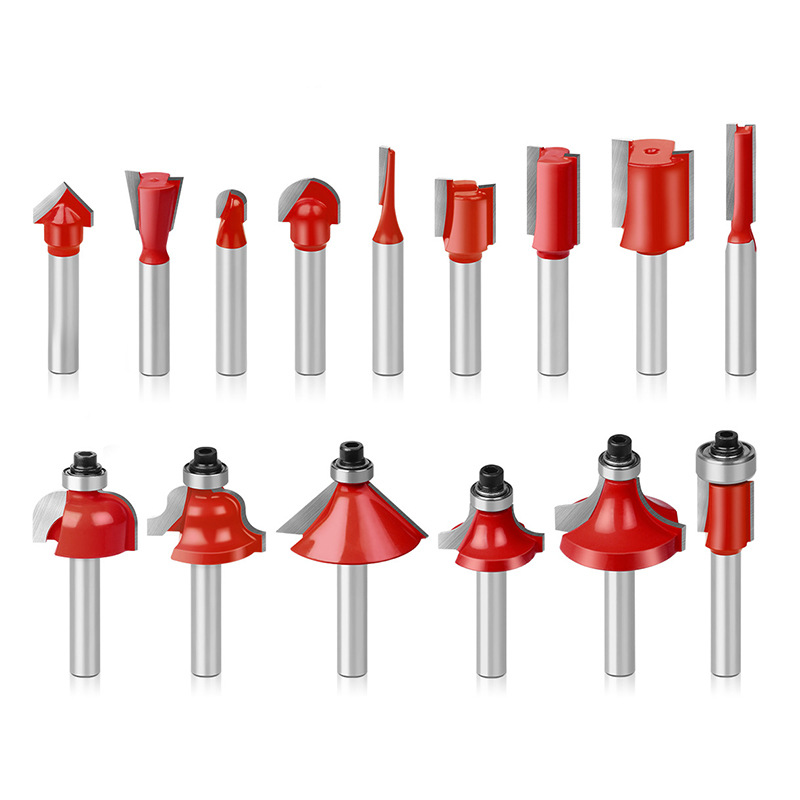
When you receive a new grooving router bit, inspect it thoroughly from all angles. Always wear protective gloves, and add safety glasses and hearing protection in the shop. Router cutters are extremely sharp and precision-ground for cutting hardwood, so never handle a bare edge casually. Whether you run a grooving cutter or our bottom cleaning router bits, inspect every bit before mounting it.
- Visual inspection. Check for trueness and balance. Look for dents, impacts, blemishes, cracks or any other damage.
- Spin test. Spin the bit gently on your fingertips and watch for wobble or out-of-round conditions. If you detect either, do not use the bit; contact the manufacturer for a replacement.
- Routine maintenance. Inspect your router bits regularly and keep them free of resin, wood glue and pitch. Above all, keep cutting edges sharp. Sharpen or replace any bit that looks dull, chipped, heavily burnt or defective.
Machine Condition Check
Before each session, examine the router body, the bit and the power cord. Confirm that handles, power switches and thumb-lock screws are tight. Then inspect the plug and cord strain relief for abrasions, cuts or loose connections.
Proper Installation Procedures
Correct collet installation is essential for safe operation and high-quality results. Improper mounting causes heavy chatter and raises the risk of bit failure during operation. Always run bits at the manufacturer-recommended RPM, and follow all manufacturer safety requirements.
Installation & Adjustment Steps
- Power disconnect. Unplug the router before installing the bit or adjusting cutting depth.
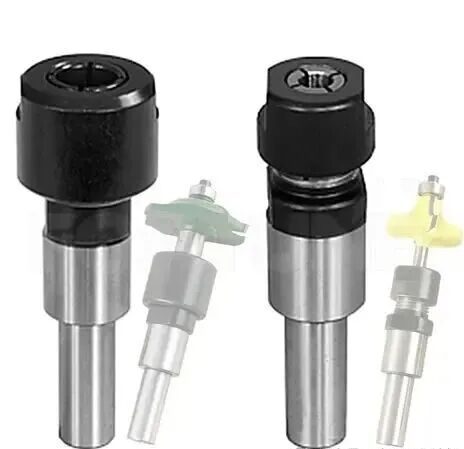
- Insertion depth. Never tighten the collet with the shank fully bottomed out. Insert the shank until it touches the collet base, then pull it back 1/8″-1/4″ (3.2-6.4 mm) before tightening the collet nut.
- Grip length. After securing the bit, at least 3/4″ (19 mm) of shank must be held inside the collet. If the shank cannot meet this requirement, use a bit with a longer shank.
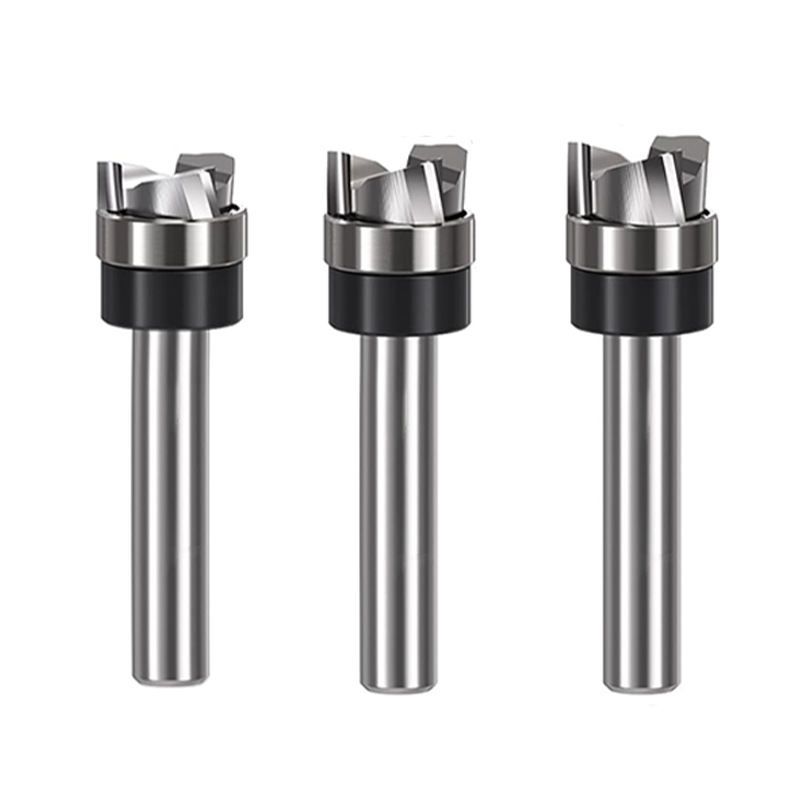
- Bearing inspection. Verify the bearing hardware is in good condition, and that your router wrench slides on and off easily. Rotate the bearing by hand: slight resistance is normal and shows it is secure. Rotation should feel consistent through a full turn, because free-wheeling is not acceptable.
- Carbide tip balance check. Carbide wings on both sides must match perfectly for proper balance. Carbide is 50% heavier than lead, so thickness on each wing must be identical. Uneven thickness, whether thinner at the centre or one end, significantly raises break-out risk. Thicker carbide offers greater strength and allows more resharpening cycles.
Note: Resharpening improves chip removal during cutting, so uneven carbide geometry will alter cutting behaviour. Carbide tips can be reshaped with proper grinding techniques.
Cutting Operation: Depth Tuning & Test Cuts
Always test-cut on scrap lumber to verify your cutting-depth settings. If further adjustments are needed, unplug the router first. This habit costs one minute and prevents most ruined panels.
Speed Settings
Set your router to the manufacturer-recommended RPM. Incorrect speeds reduce performance and increase the risk of bit breakage.
Feed Direction
Feed workpieces consistently from left to right into the cutter, following the grain direction.
- Too slow: the feed rate may burn the wood surface.
- Too fast: the rate causes rough cuts and excessive tool wear.
Post-Operation Best Practices
- Spindle coast-down. After finishing a cut, turn off the motor, and do not lift the tool away from the workpiece until the bit has completely stopped spinning.
- Clean-up. Once cutting is complete, disconnect power, remove the bit, and fully clean the router unit.
Recommended Maximum Router Bit RPM
Important: These values are for reference only. Reduce operating speed as required for your equipment and working conditions to maintain safety and performance.
| Bit Diameter | Maximum Speed |
|---|---|
| 1″ (≈25 mm) | 24,000 RPM |
| 1.25″-2″ (≈32-51 mm) | 18,000 RPM |
| 2.25″-2.5″ (≈57-64 mm) | 16,000 RPM |
| 3″-3.5″ (≈76-89 mm) | 12,000 RPM |
Match these limits to your work. As a rule, larger cutters demand lower speeds, and any wobble or burning means you should stop and re-check the setup. For a deeper look at related cutters, review our router bits for bottom cleaning and flattening.
Frequently Asked Questions
How deep should a router bit sit in the collet?
Insert the shank until it touches the collet base, then pull it back 1/8″-1/4″ (3.2-6.4 mm). At least 3/4″ (19 mm) of shank must stay gripped inside the collet.
What causes a cutting bit to break mid-job?
The usual causes are incorrect collet seating, wrong RPM, uneven carbide thickness, dull edges and too fast a feed rate. Check all five before every job.
How often should you clean each cutter?
Clean them after every session. Resin, glue and pitch build up quickly, and that build-up makes the bit run hot and cut poorly.
Final Word on Router Bit Safety
Safe routing comes down to habits: inspect the bit, seat the collet correctly, respect the RPM limits and never reach over a spinning cutter. Do those four things every time, and your router bit will reward you with clean cuts and a long service life.