
Blog
Router Bit Tear-Out: Shear Angle and Smarter Passes

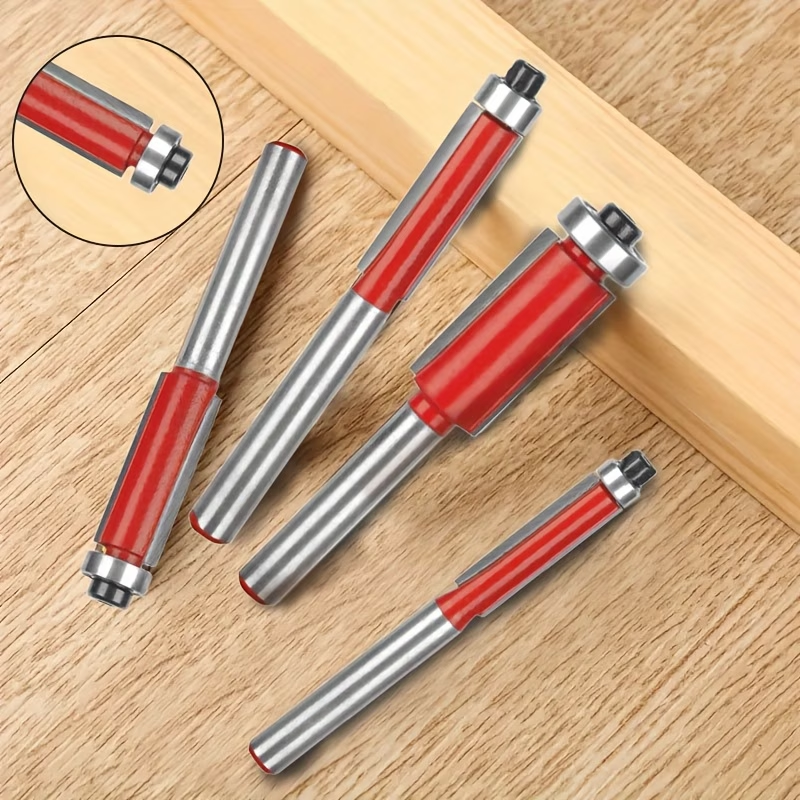
A crisp profile can turn fuzzy in a single pass, and the fault is often the setup. In fact, router bit tear-out happens when the edge lifts fibres instead of slicing them. Moreover, the damage shows up after the cut, so you only learn about it too late.
This guide explains why grain lifts and how cutter geometry changes the risk. It also shows how to set up a cut that stays clean. First we look at the wood. Then we look at the tool.
Why Grain Lifts Instead of Cutting
Wood is a bundle of fibres glued together along the grain. Therefore, an edge that pushes fibres apart leaves a rough surface. An edge that shears them leaves a clean one.
The risk rises sharply when you cut against the grain. In that case, the cutter lifts the fibres ahead of the edge. As a result, whole slivers break away from the surface.
For example, a straight bit cutting across a figured maple board will tear the surface at the exit corner. A shear cutter on the same board can leave a polished edge.
Because the material is not uniform, the same board behaves differently along its length.
What Shear Angle Changes
A shear angle is the tilt between the cutting edge and the axis of rotation. That tilt slices the fibres in a progressive way. As a result, the cut is closer to a shaving action.
- A straight edge hits the full width at once, so fibres lift more easily.
- A helical edge contacts the wood at one point and shears forward.
- A down-shear edge pushes fibres down, which protects the top face.
- An up-shear edge protects the underside of the workpiece.
- A small shear angle is a compromise, and it costs less than a full helix.
Therefore, match the shear direction to the face you cannot sand. In practice, down-shear bits cure most router bit tear-out on veneered panels.
Router Bit Tear-Out and Feed Direction
Feed direction decides which side of the cut takes the load. Consequently, it is the fastest way to reduce router bit tear-out without buying new tooling.
For a table setup, feed the work from right to left across the front of the fence. Then the cutter pushes the fibres back into the board instead of lifting them.
Moreover, check the grain on every part before you cut. If the grain reverses halfway along a board, plan two passes from opposite ends.
A climb cut is another option for the final pass. However, it demands light depth and a firm grip, so keep it for finishing work only.
Pass Depth and Speed
Depth of cut controls the load on each edge, and that load drives tearing. Therefore, take two or three shallow passes instead of one heavy cut.
Shallow passes reduce router bit tear-out, because each edge takes a smaller bite. A useful rule is to limit each pass to about half the bit diameter in hardwood. Because the load per pass stays low, the fibres shear rather than break.
Feed speed matters too. Feeding too fast overloads the gullet and lifts fibres. Feeding too slowly lets the edge rub and burn the surface. Therefore, aim for a steady rate that produces thick shavings.
In addition, keep the cutter sharp. A dull edge cannot shear cleanly, and no setup change will compensate for it.
Material Matters
Different materials fail in different ways, so adjust the plan for each one.
- Solid hardwood tears at the exit corner more than anywhere else.
- Plywood tears its thin face veneer, so a down-shear bit helps a great deal.
- MDF does not tear, but it chips at the edges and raises a lot of dust.
- Particle board crumbles at the edge, so sharp tooling is essential.
- Softwood compresses before it cuts, which produces fuzz rather than chips.
Because these behaviours differ, always test on the stock you will use.
A Practical Anti-Tear-Out Routine
Use the same sequence on every job and the results become predictable.
- Mark the grain direction on each part before cutting.
- Choose a shear or helical cutter for visible faces.
- Set a light depth and plan extra passes.
- Check the feed direction against cutter rotation.
- Fit a backing board behind the exit edge.
- Cut a test piece and inspect the exit corner.
- Adjust speed or depth, then cut the real part.
After that, remember that a backing board is the cheapest fix of all. It supports the fibres at the exit point, where tearing usually starts.
Tool choice also matters. Keep to a reputable router bits range. Then tearing stays away for more of the job.
Finishing Tips for Damaged Edges
Sometimes a part tears anyway, and recovery matters more than blame. In that case, stop cutting immediately. Continuing will only deepen the damage.
For a shallow tear, a light sanding pass may be enough. For a deeper one, re-cut the profile after adjusting the feed direction. Meanwhile, keep a sharp scraper nearby for local repairs.
Moreover, a thin sealer coat before the final pass can stiffen surface fibres. As a result, they resist lifting.
Profile and geometry choices vary a lot. Therefore, study a wider router bit collection reference before the next project.
FAQ
Is router bit tear-out caused by a dull cutter? Often, yes. However, feed direction and depth share the blame in most cases.
Do spiral bits eliminate tear-out? No. They reduce it a great deal, especially on figured wood and veneered panels.
Should I climb cut to avoid tearing? Only as a light finishing pass, and only when the work is fully controlled.
Tear-out is predictable once you understand fibre direction. Control the grain, the shear angle and the depth, and the fuzzy edge disappears from your work.