
Blog
Chip Load for Router Bits: The Formula That Saves Edges

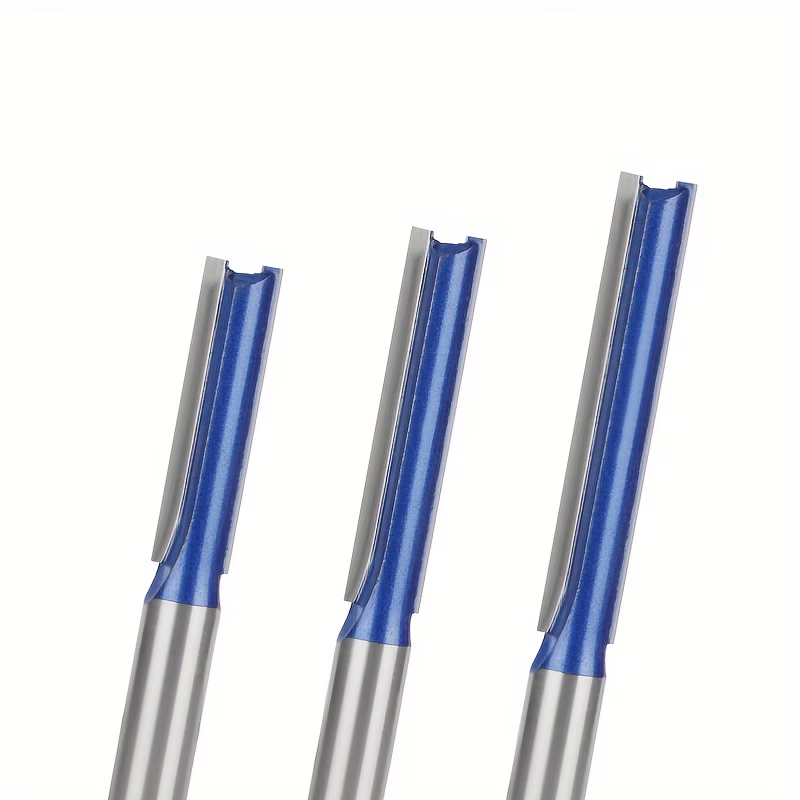
Every router bit has one number that decides its fate, and that number is chip load. When it is right, the cutter slices clean shavings and stays cool. When it is wrong, the same cutter rubs, burns and dulls in minutes.
This article explains the idea in plain language. Then it gives you the formula, the target ranges and a workflow you can repeat in the shop.
What the Number Really Means
Chip load is the thickness of material that each cutting edge removes in one pass over the wood. In other words, it is the bite size per tooth.
A thin chip means the edge is rubbing the surface. As a result, friction rises and heat builds. A thick chip overloads the edge and the motor. Therefore, you want a middle range.
Because the value is measured per tooth, a three-flute bit removes three chips per revolution. Meanwhile, a two-flute bit removes two. Consequently, flute count changes the load even at the same spindle speed.
The Chip Load Formula in Plain Numbers
The classic relationship links three values, and it is easier than it looks. Multiply the load by flute count and by spindle speed. Then divide by the feed rate.
- Feed rate = spindle RPM x flute count x chip load.
- Rearrange it to solve for the value you can control.
- Keep units consistent, so convert inches to millimetres once and stay there.
For example, a two-flute bit running at 18,000 RPM with a 0.010 inch target gives about 360 inches per minute. That figure is realistic for a small CNC machine. However, it is far too fast for a hand-fed router.
In the shop, hand feeding works differently. In that case, you control the load by feel and by the sound of the cut. Therefore, treat the formula as a target, not a script.
Target Chip Load by Wood Species
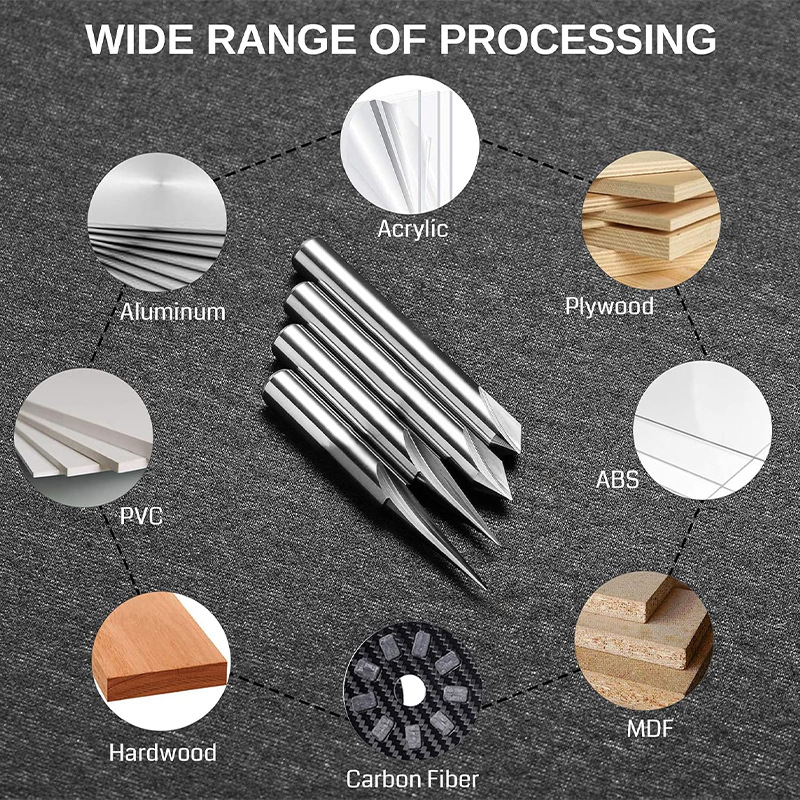
Density sets the starting point, so match the material before you tune anything else. Softwoods tolerate a bigger bite. Hardwoods prefer a smaller one. Composite panels sit somewhere between.
- Softwood such as pine: 0.010 to 0.015 inch per tooth.
- Medium hardwood such as oak: 0.008 to 0.012 inch per tooth.
- Dense hardwood such as maple or wenge: 0.005 to 0.008 inch per tooth.
- MDF and particle board: 0.008 to 0.012 inch per tooth.
- Plywood: 0.006 to 0.010 inch per tooth to protect thin face veneers.
Because these ranges overlap, use them as a compass rather than a ruler. Moreover, always confirm with a test cut on scrap from the same board.
How Bit Diameter Resets the Target
The feed rate per tooth cannot be judged alone. That is because diameter changes the cutting speed at the rim, and a large bit at high RPM produces a very fast surface speed.
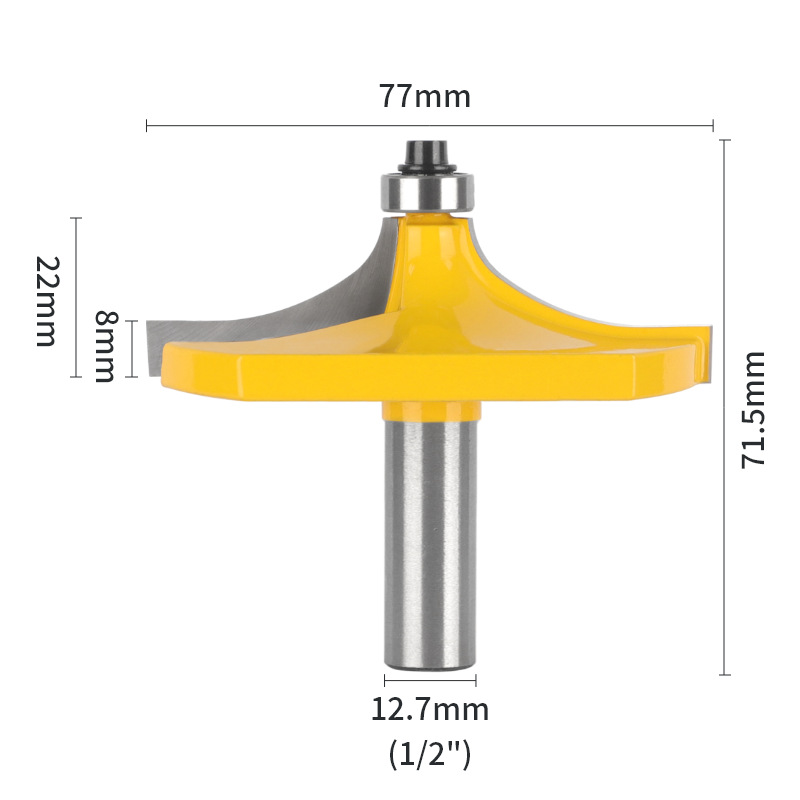
Therefore, big cutters need slower spindle speeds. Otherwise, the edge overheats before the chip clears. For instance, a 2 inch panel raiser often runs best at lower speeds. That is well below the range used for a 6 mm straight bit.
On a CNC machine, the controller keeps feed constant. So you adjust the load through RPM and flute count. On a router table your hands set the feed. As a result, load becomes a matter of rhythm and pressure.
Signs the Bite Is Wrong
The wood tells you before the tool fails, so watch for these signals.
- Fine dust instead of shavings means the load is too light.
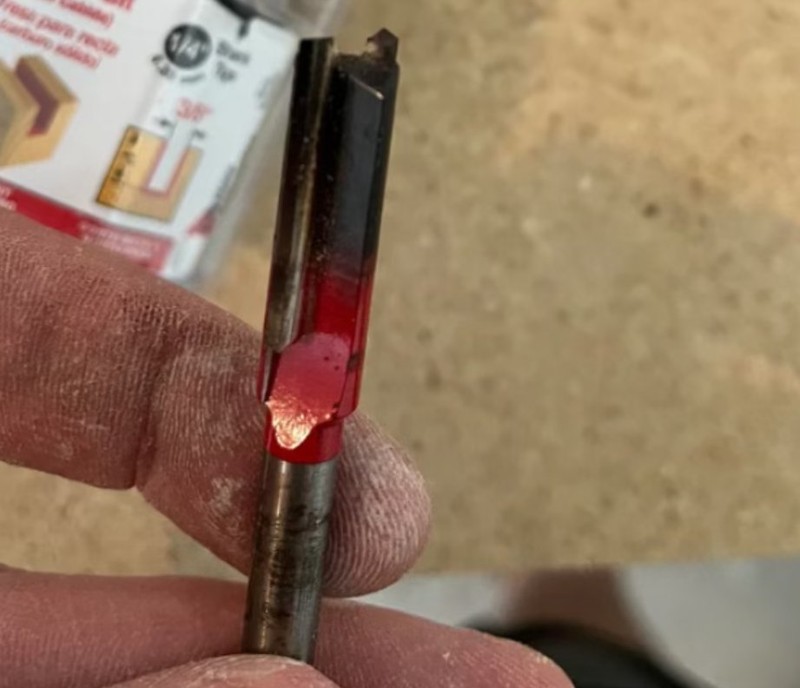
- Brown scorch marks on the edge mean friction is already high.
- A hollow, screaming sound points to chatter or an overloaded edge.
- Heavy vibration suggests the bite is too aggressive for the setup.
- A dull edge within one job means the cutter is rubbing, not cutting.
In addition, look at the chips themselves. Long, ribbon-like shavings usually mean the load is close to ideal. Powder means it is not.
A Simple Shop Workflow
Keep the process short so you actually repeat it. First, pick the bit and note the flute count. Second, set spindle speed for the diameter. Third, set feed to hit the target. Fourth, cut scrap and inspect the chips.
Then adjust one variable at a time. After that, write the winning combination on a card and tape it to the machine. Finally, retest whenever you change wood species or bit size.
Reliable cutters make this loop much easier to tune. A stable geometry from a proven router bit range removes one variable from the equation. Furthermore, consistent shank quality keeps the load predictable from bit to bit.
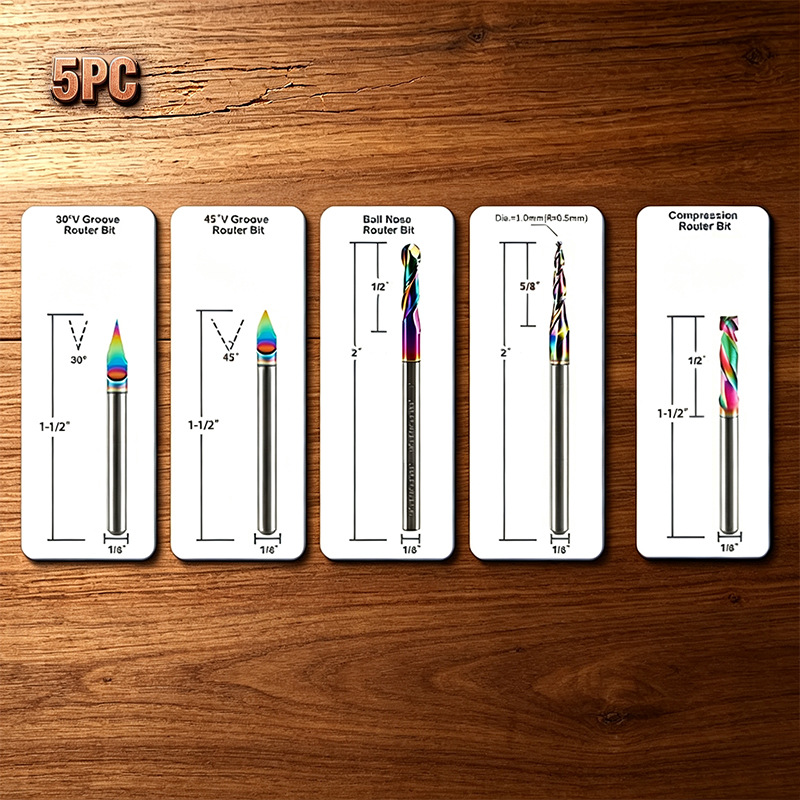
If you also work with grooving and slotting jobs, compare flute counts and helix options. A wider router bit selection guide covers both before you buy.
FAQ
Can I feel chip load by hand? Partly. A steady cut with warm chips usually means the load is in range.
Should I reduce chip load on a small router? Yes. Lower the load to protect the motor, and take a second pass instead.
Does a sharp bit allow a bigger bite? Yes, but only within the material limits listed above.
Chip load is simple arithmetic with an outsized effect. Set the bite size on purpose, and both your edges and your finish will last longer.