
Blog
Router Bit Storage & Sharpening: A Woodworker’s Care Routine


Good router bit storage and regular upkeep keep your cutters sharp and your workshop safe. A dull or rusty bit tears the grain, strains the motor, and can even kick back. This guide walks through handling, storage, sharpening, and in-use safety so your bits last longer and cut cleaner. Whether you run a trim router or a CNC, the same care routine applies. Solid router bit storage also protects anyone who later opens the case.
Why a Router Bit Care Routine Pays Off
Proper care protects your investment. Bits are precision tools, and even small nicks change how they cut. When you store and sharpen them correctly, you get smoother edges and fewer tear-outs. In addition, a clean bit reduces heat buildup that wears the carbide. Therefore, a few minutes each week saves hours of rework later. A well-kept set also holds its value, so you can upgrade with confidence instead of replacing worn cutters. Cheap bits suffer most from neglect, yet even premium cutters fail without routine care.
Handle Every Bit With Care
Always wear gloves when you pick up a bit. Skin oil and dust speed up corrosion, so bare-handed handling is best avoided. Moreover, keep the cutting edges from knocking against metal drawers. Use the original sleeves or a dedicated bit case. Consequently, the edges stay crisp and ready for the next job. Before each use, wipe the shank and check the collet for burrs that could throw the bit off balance. Tight router bit storage also stops loose cutters from rattling in transit. Label each sleeve with the bit name, and you will never guess at a glance.
Router Bit Storage by Type and Size
Sort your cutters by type and diameter so you grab the right one fast. A labeled rack or case prevents mix-ups that cause damage. For router bit storage, a dry, shaded spot matters most; humidity and sunlight dull the finish and invite rust. Furthermore, silica packs in the case absorb moisture. When bits are organized, you also spot worn edges during routine checks. This simple habit extends the life of every cutter you own. Good router bit storage begins with a dedicated case rather than a loose toolbox tray.

Sharpening Router Bits: Carbide vs HSS
Carbide and high-speed steel need different touch-up methods. router bit sharpening starts with knowing your steel. Carbide edges take a diamond stone held at the original angle; HSS responds to a fine wheel or file. However, freehand sharpening removes too much material, so light passes work best. In short, match the tool to the steel, and you keep the geometry the maker intended. Watch for burn marks and a blue tint, which signal overheating and a ruined temper. Patient router bit sharpening always beats aggressive grinding.
A Step-by-Step Sharpening Routine
Start by cleaning the bit with a soft cloth and mild solvent to remove resin. Next, inspect for chips or uneven wear. Then, with a diamond stone, draw the edge a few times at the factory bevel. After that, polish the flutes with fine abrasive paper to lift burrs. Finally, wipe dry and return the bit to its slot. Following this order keeps results consistent across your set. Repeat the pass only when you feel drag on the wood, not on a fixed calendar schedule.
Clean Resin Before It Hardens
Softwood pitch and glue residue build up fast on flutes. Left alone, the gummy layer traps heat and slows the cut. Therefore, wipe each bit with a solvent-safe cloth right after use. For stubborn buildup, a dedicated bit cleaner dissolves the film without harming the carbide. Moreover, dry the cutters fully before they go back into storage. A clean flute stays sharp longer and needs far less sharpening over time.
Stay Safe While the Router Runs
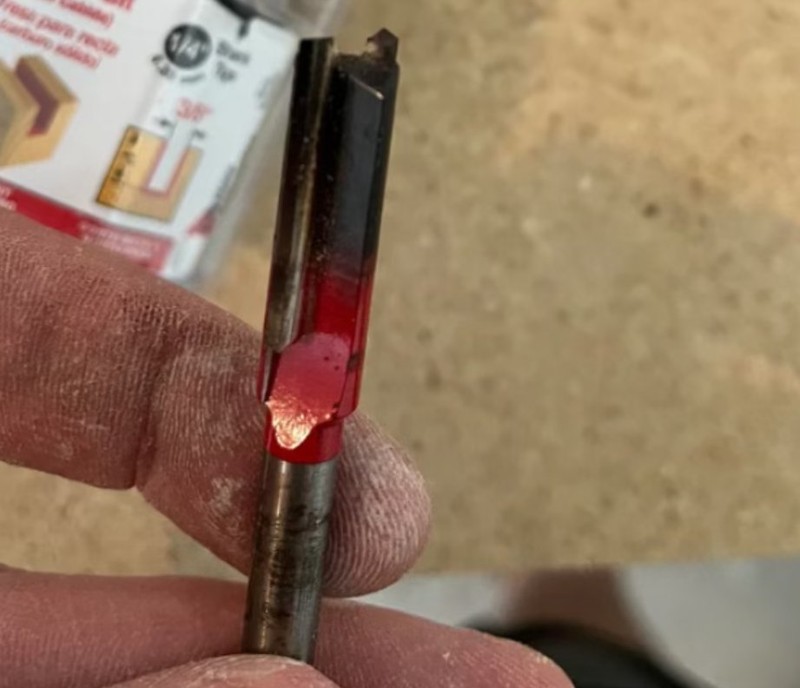
Safety starts before the power switch. Secure loose clothing and tie back long hair. Keep hands clear of the spinning cutter and grip the router firmly. Use push sticks or fences for control. Importantly, unplug the tool before you change or service a bit. Check the bit for damage first; a dull edge can grab and throw the work back. A bright, tidy bench also prevents accidents. Always wear eye and dust protection, because fine particles travel far from the cut line. Feed against the bit’s rotation and keep a steady pace, because jerky moves invite kickback.
Your Weekly Care Checklist
Turn care into a habit. Wipe bits after each session, store them dry, and sharpen at the first sign of drag. Inspect collets and shanks for wear too. As a result, your projects stay precise and your workshop stays safe. Pair this routine with quality router bits and the right jigs, and maintenance becomes second nature. For a wider look at options, browse our full router bit range before your next build. Small weekly checks beat a costly bit replacement after a failed cut.