
Blog
Router Bit Edge Profile: Bevel vs a Trimming Cutter

Two cutters look alike on the shelf, yet they behave very differently in use. Therefore, the choice of a router bit edge profile decides the outcome. It settles whether an edge looks crisp or whether the cut follows a template.
This guide compares a bevel cutter with a trimming cutter. First we look at the geometry. Then we look at setups and at the bearing question.
Two Cutters, Two Jobs
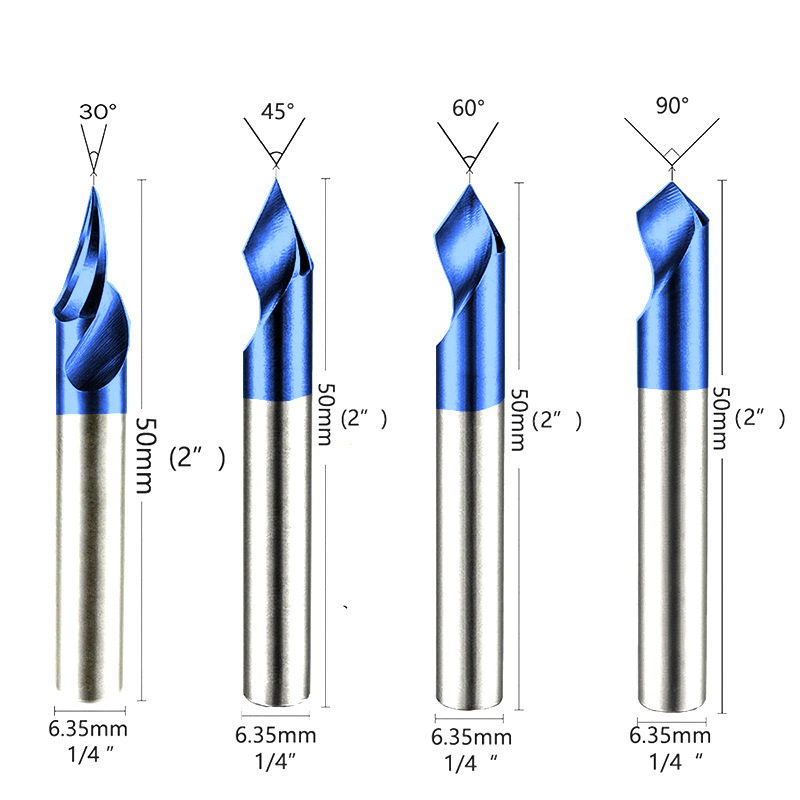
A bevel cutter cuts a flat face at an angle to the surface. Because the face is flat, it casts a straight shadow line.
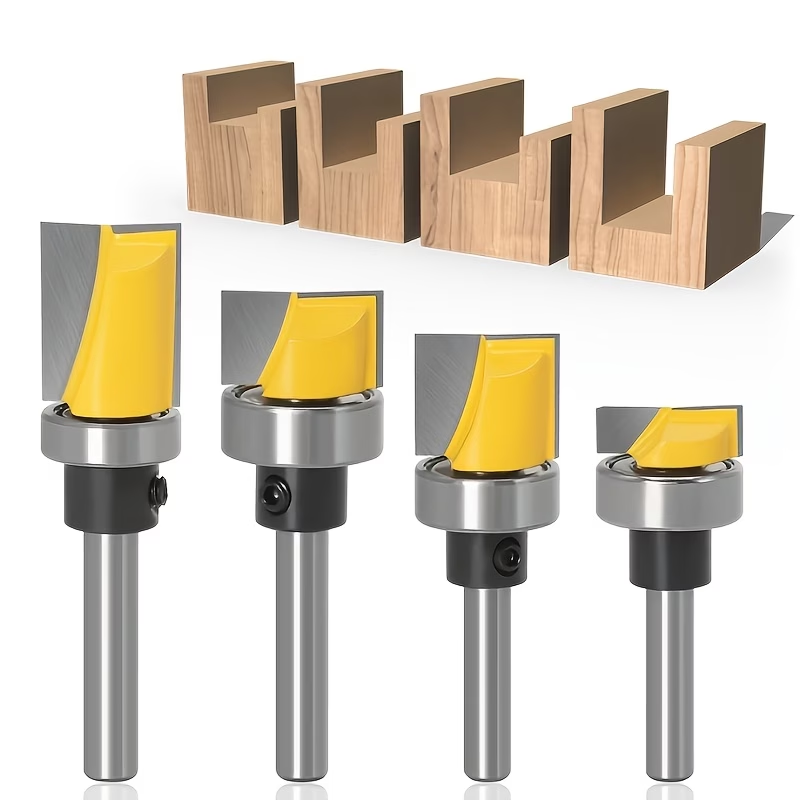
Meanwhile, a trimming cutter copies a shape from a template or a reference edge. As a result, the cut matches an existing profile exactly.
In short, one tool changes the look of an edge. The other tool reproduces a shape that already exists.
How the Edge Geometry Differs
The cutting geometry explains almost every difference in use.
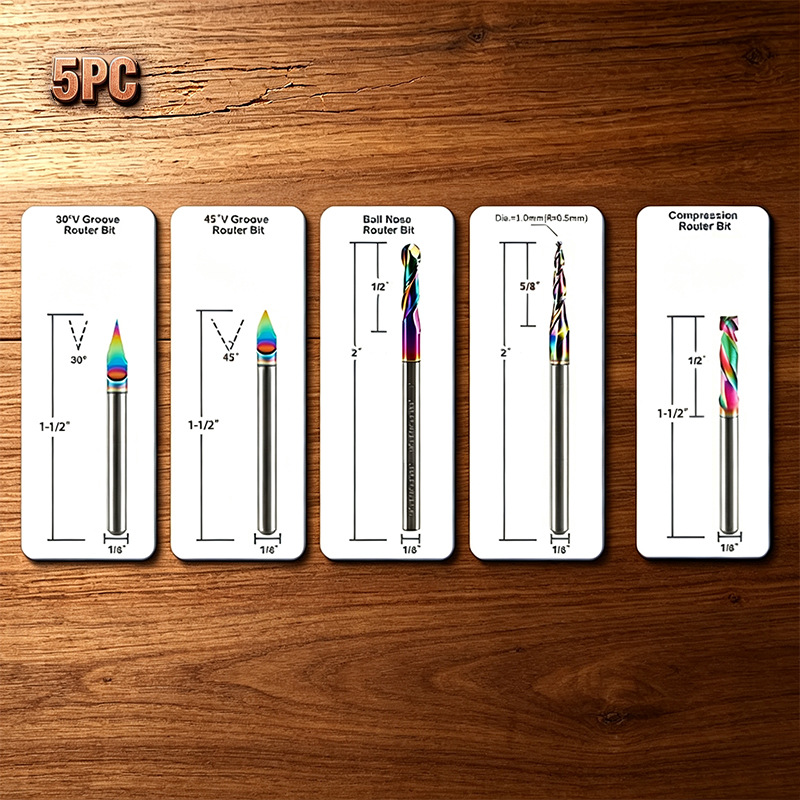
- A bevel edge is straight and set at a fixed angle to the axis.
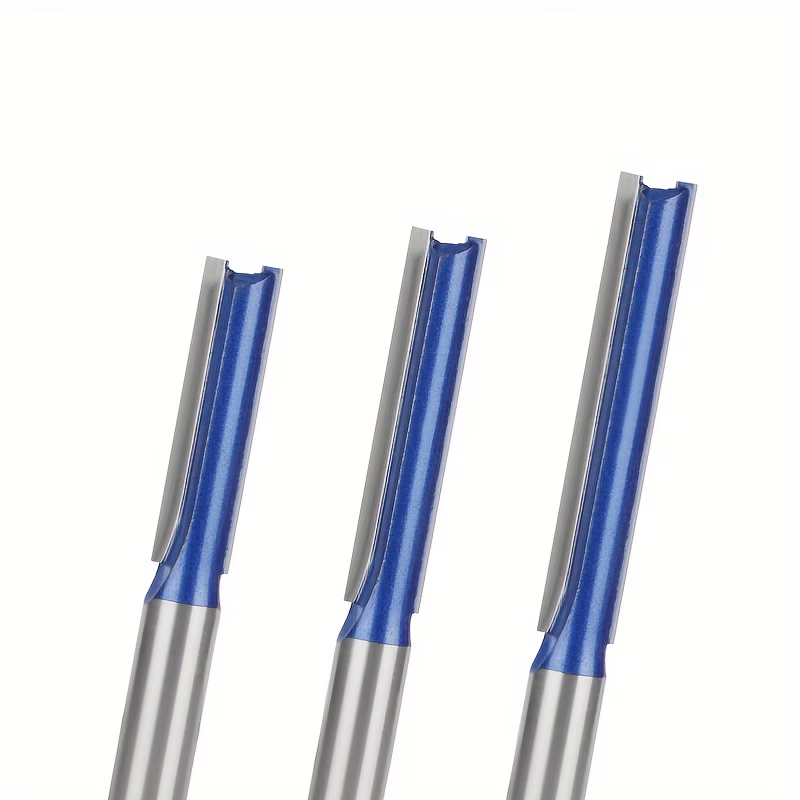
- A trimming edge is parallel to the axis and cuts on the side.
- A bevel removes a corner, so it shortens the width of the face.
- A trimming cutter removes material until the template is reached.
- A bevel leaves a flat face, while a trim bit leaves a square wall.
Therefore, the two cutters are not interchangeable. In fact, using one for the other job usually ruins the part.
Router Bit Edge Profile for Bevel Work
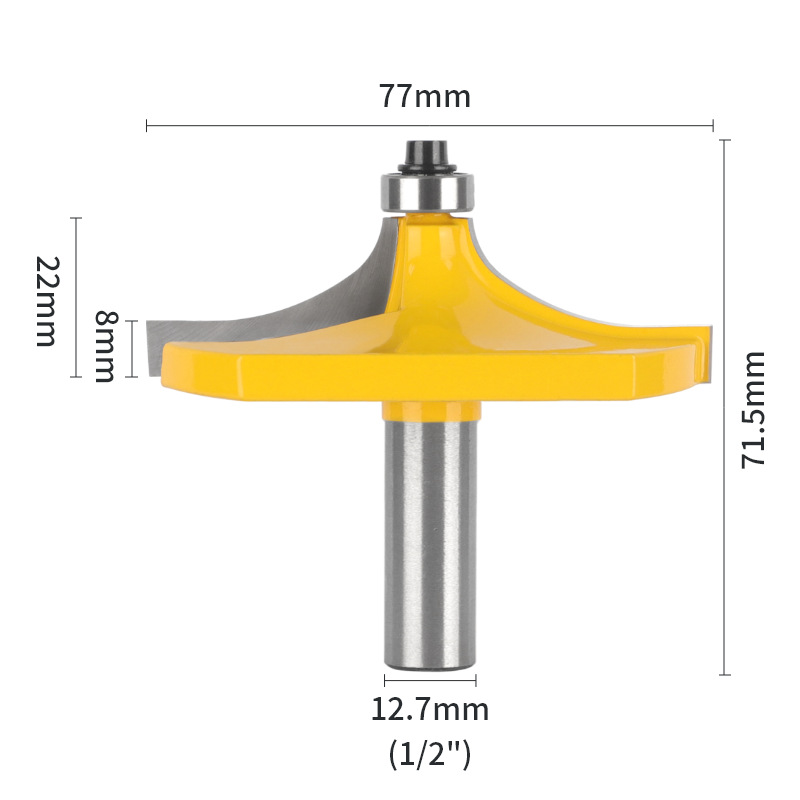
A bevel suits edges that need light, shadow and a softer feel. Because the face is flat, the result reads as deliberate design.
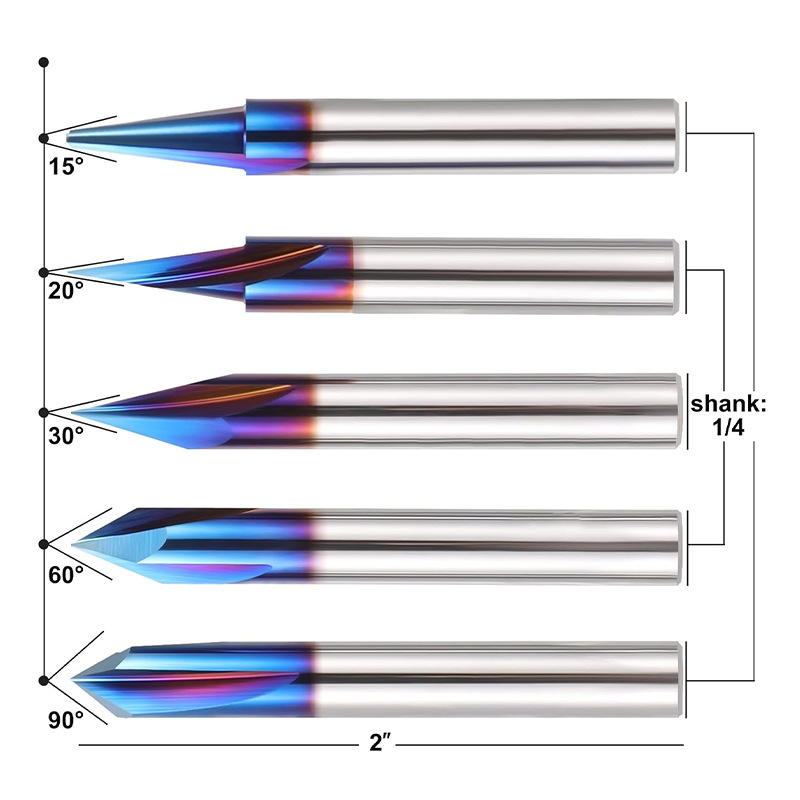
Common angles run from 15 degrees for small parts to 45 degrees for a classic chamfer. In practice, 22.5 degrees suits most frame stock.
Moreover, the height of the cutter sets the width of the face. Therefore, dial the width on scrap before you touch the real part.
Where a Trimming Cutter Wins
A trimming cutter earns its place whenever a shape must repeat. Because the bearing follows a template, every part comes out identical.
Common jobs include flush trimming edging, copying curved parts and cleaning laminate. Meanwhile, a down-shear version protects the top face.
However, the template must be sound. A nick in the template transfers straight into every finished part.
Also, keep the bearing clean. Because resin and dust pack into the shield, a dirty bearing drags and burns the reference edge.
Bearing or No Bearing
The bearing question depends on how you control the cut.
- A bearing guided cutter follows a template or an existing edge.
- A bearing guided cutter needs no fence, which suits curved work.
- A plain cutter with a fence suits straight work on a router table.
- A fence gives a more stable reference on long straight edges.
- A bearing adds maintenance, since it must stay clean and free.
Therefore, choose the guide by the shape of the job. Straight work favours a fence, and curved work favours a bearing.
Setting Up a Bevel Cut
A bevel is quick to set up on a router table, so follow these steps.
- Fit the cutter and tighten the collet properly.
- Raise the cutter until the faces just meet the pilot.
- Lock the height and cut a test piece.
- Measure the flat face with a caliper.
- Adjust the height and cut the real part.
Because the router bit edge profile controls the face width, height matters more than speed. Therefore, spend your time on the height setting.
In addition, keep the feed steady near a corner. A sudden push there lifts grain and spoils the shadow line.
Setting Up a Trimming Cut
A trimming cut follows a guide, so the setup is mostly about the guide itself.
- Check the template for nicks and flat spots.
- Set the cutter so the bearing rides the template fully.
- Clamp the work so it cannot shift during the pass.
- Feed against the cutter rotation for a clean edge.
Meanwhile, a router bit edge profile that copies a template needs a clean bearing. Because dust packs into the shield, clean it before every job.
A Simple Selection Table
Use this short list when the job is unclear. It covers most situations in a home shop.
- Softening a square edge: choose a bevel or chamfer cutter.
- Copying a curved template: choose a bearing guided trim cutter.
- Trimming edging flush: choose a flush trim cutter with a bearing.
- Cutting a long straight chamfer: use a fence on the table.
- Decorative edge with a curve: choose a roundover or a cove cutter.
Because the two families overlap in size, the job always decides. Write the task down first, then pick the cutter.

FAQ
Can a bevel cutter trim edging? Not safely. The angled face will not follow the edge cleanly.
Is a trimming cutter only for laminate? No. It also copies wood parts from templates.
Which router bit edge profile is safest for a beginner? A bearing guided trim cutter, because the bearing limits the cut.
Pick the cutter by the outcome you need, not by the shelf label. Then check the edge on scrap before the final pass. After that, review a dependable router bits range, or compare options in a wider router bit collection.