
Blog
Bevel Router Bit Angles: Clean Chamfers on Every Edge


A square edge looks flat and unfinished on good work. Therefore, a bevel router bit is often the first tool reached for in a finishing shop. It cuts a flat angled face, and that face catches the light.
This guide explains how to read the angle, how to set the height, and how to avoid ragged edges. First we look at the geometry. Then we look at the setup.
What a Bevel Actually Is
A bevel is a flat face cut at an angle to the surface. In contrast, a roundover cuts a curved face. Therefore, the two tools look similar but produce a very different shadow line.
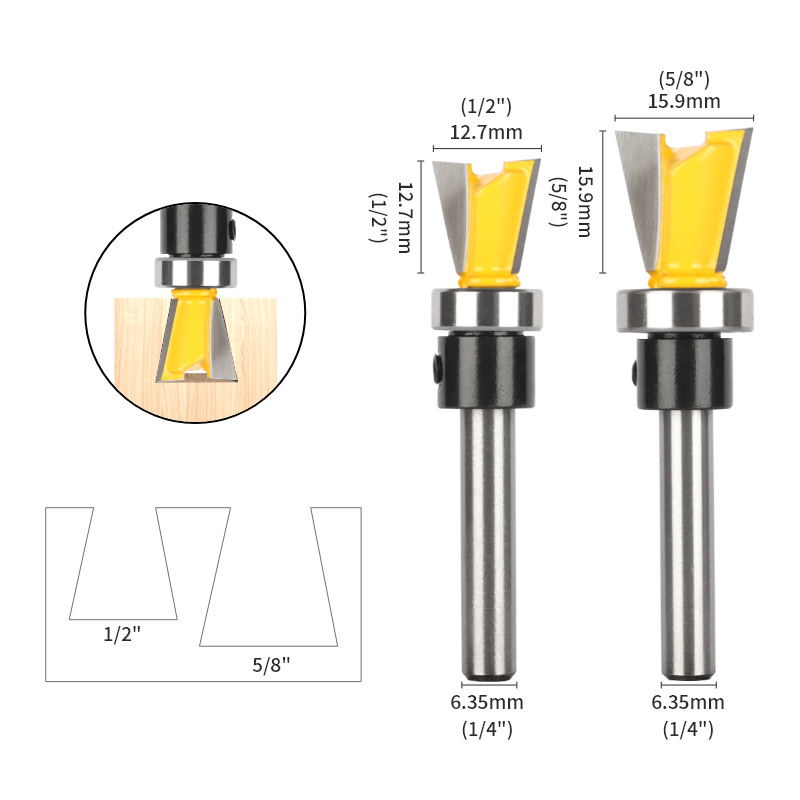
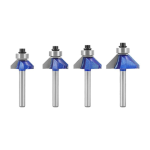
Most bevel router bit bodies use a pilot bearing or a pilot tip. Because the pilot rides the edge, the cut follows the existing shape. As a result, the work stays consistent along the whole length.
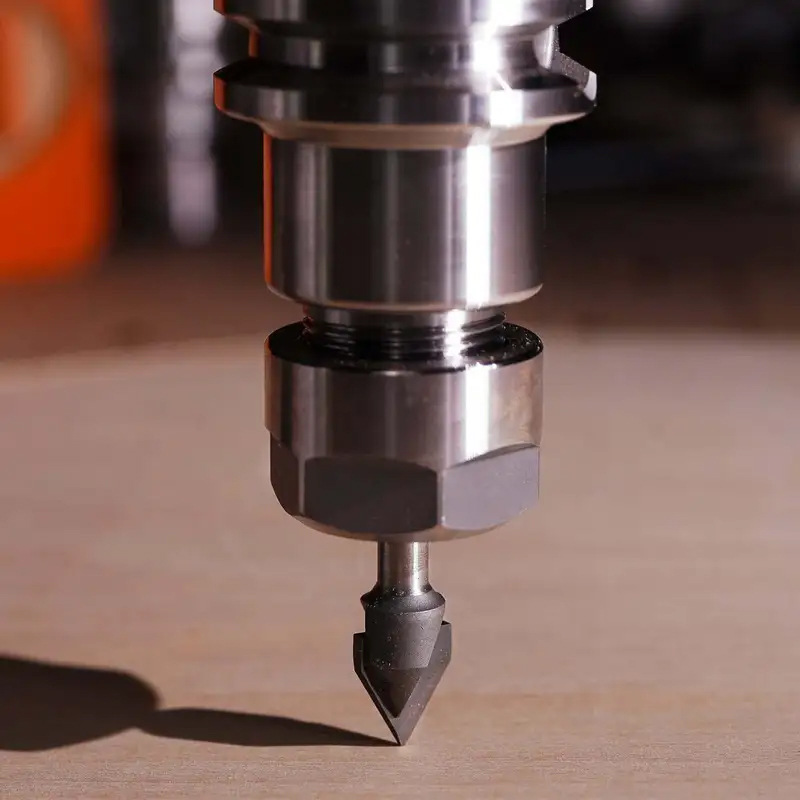
Meanwhile, the cutting edges run straight along the cone. Because there is no curve, the tool is easy to sharpen and cheaper to buy.
Reading the Angle on the Package
Angle markings are not always clear, so read the whole label carefully.
- A 15 degree bit leaves a narrow face, which suits small parts.
- A 22.5 degree bit suits frame stock and general trim.
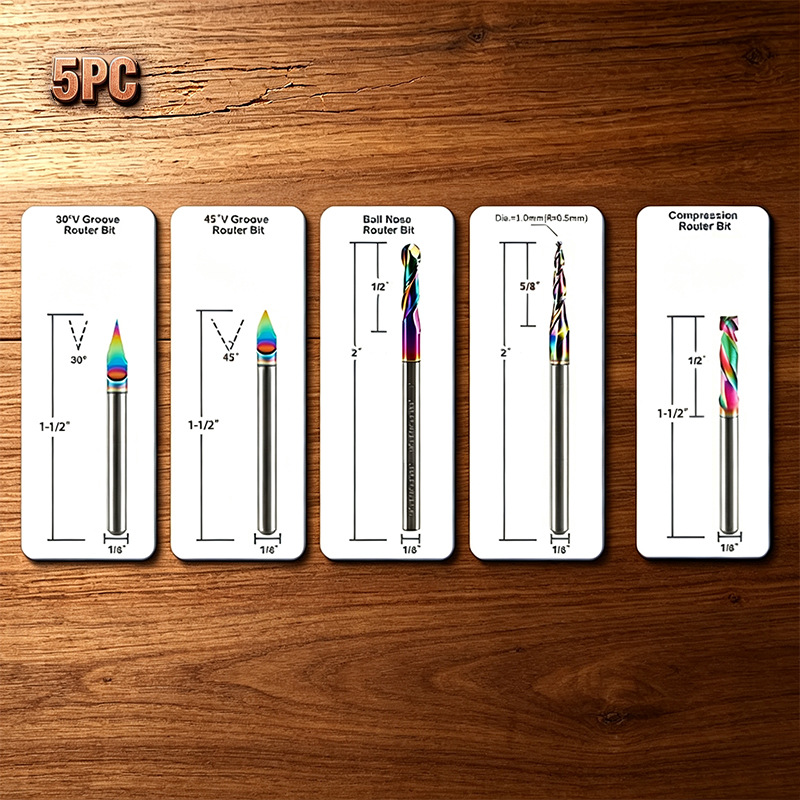
- A 30 degree bit gives a wider face and a stronger shadow.
- A 45 degree bit is the classic chamfer, and it joins corners neatly.
- Some sets list the angle as the included value, so check first.
Therefore, never assume the number. A 45 degree chamfer on one brand can equal a 22.5 degree cut on another. In addition, test every new tool on scrap first.
The angle stays fixed, but the width of the cut does not. Because the height decides the width, you can dial in the look you want. In practice, most shops set width by eye on a sample.
Height and Fence Setup
Setup takes a few minutes, and it is worth doing properly. Therefore, follow the same steps every time.
- Fit the bit and pull it back, then tighten the collet firmly.
- Raise the bit until the faces nearly meet the pilot.
- Lock the height and make a pass on scrap.
- Measure the width with a caliper.
- Adjust the height, then cut the real part.
Because the pilot controls depth on bearing guided bits, the fence is less critical. However, a bearing still needs a clean, straight reference edge. Therefore, joint the edge before you cut.
For table work, use a featherboard to hold the stock down. As a result, the cut stays even and your hands stay clear of the cutter.
Bevel Router Bit Choices by Material
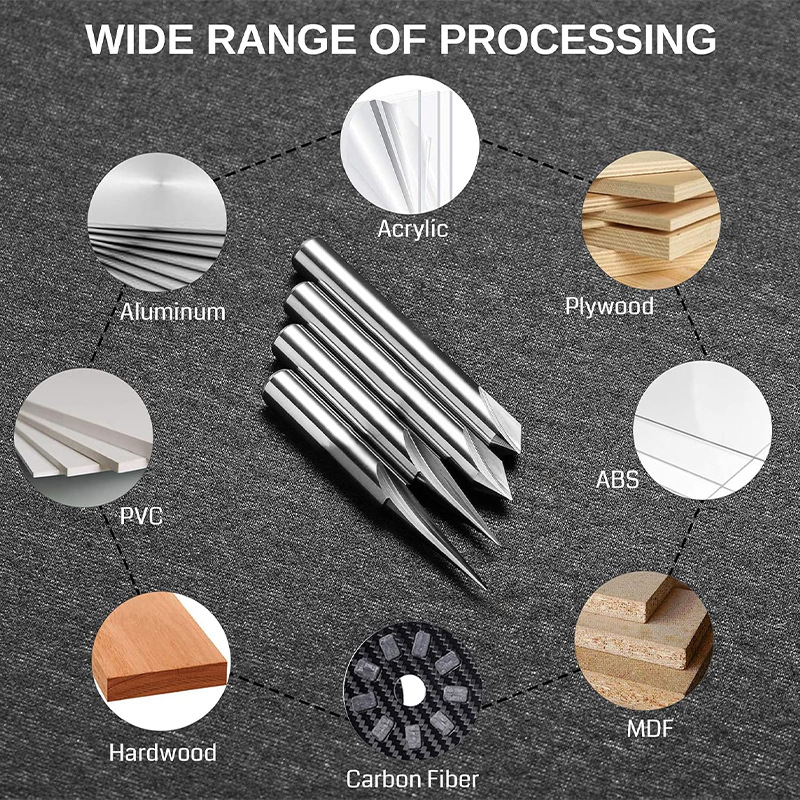
Material changes the result more than most woodworkers expect. Therefore, adjust speed and depth for each one.
- Hardwood gives a crisp face, so it takes a fine angle well.
- Softwood compresses, so a wider angle reads better.
- Plywood shows its plies, and the result can look busy.
- MDF cuts cleanly, but edges absorb more finish afterwards.
- Veneered board chips easily, so use a sharp cutter.
In addition, watch the grain direction. Because a bevel cuts across end grain at corners, tear-out often starts there. Therefore, slow the feed as you approach a corner.
Mistakes That Ruin the Line
A few habits cause nearly every bad chamfer, so check them first.
- Running the feed too fast, which leaves fuzzy faces.
- Cutting full depth in one pass, which burns the wood.
- Ignoring grain direction at the corners.
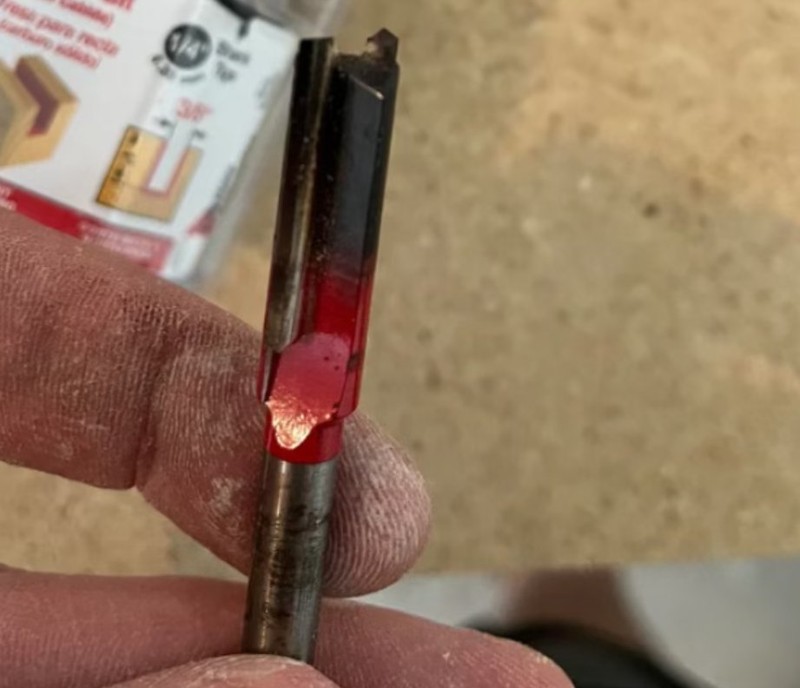
- Using a dull pilot bearing, which marks the edge.
- Skipping the test piece, then guessing at the height.
Therefore, keep the passes light and take two if needed. A finishing pass removes very little material, yet it leaves a much cleaner face.
Moreover, clean the bearing before each job. Dust packed into the bearing makes it drag, and a dragging bearing burns the reference edge.
Where Bevels Earn Their Keep
A chamfer is not decoration alone. In fact, it solves three practical problems at once.
First, it removes the sharp arris that splinters on handling. Second, it hides small gaps in paint and clear coats. Third, it makes a heavy panel look lighter to the eye.
As a result, the same bit serves boxes, shelves, frames and table tops. Meanwhile, matching bevels on several parts tie a project together visually.
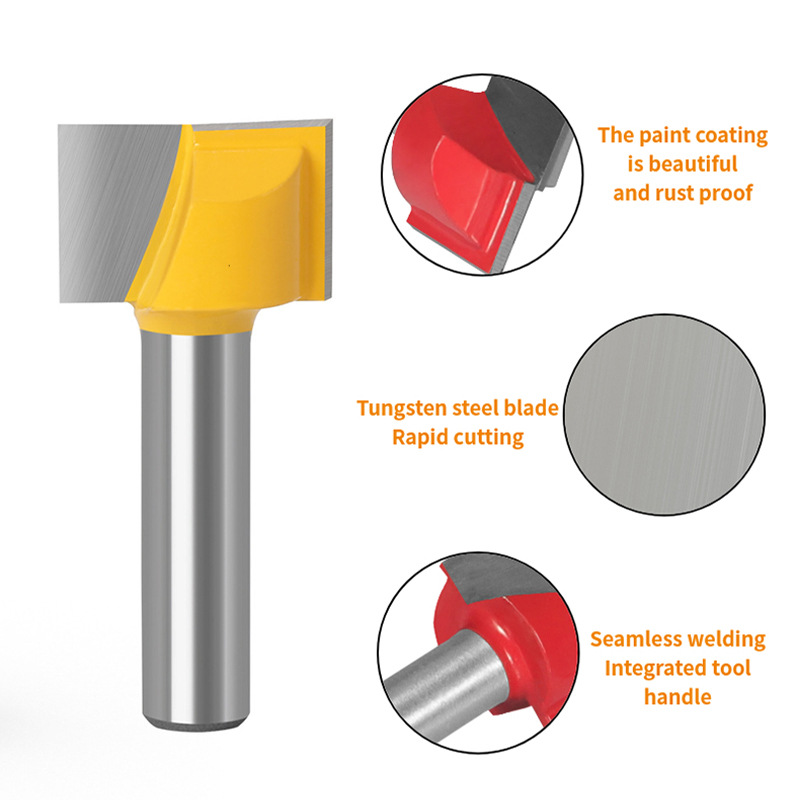
Because the bevel router bit does all the shaping, tooling quality matters. Consequently, choose carefully. Compare carbide grades and bearing sizes in a wider router bits range before you order.
FAQ
Do I need a bearing on a bevel router bit? Yes for trimming existing edges. A fence works better for straight table work.
How wide should a chamfer be? Around one third of the stock thickness looks balanced. Therefore, adjust the height of your bevel router bit rather than the angle.
Why does the face look ribbed? Usually the feed rate varied. Keep it steady, and the tool will leave a flat face.
Angles are simple once you know how to read them. Match the tool to the material, then set the height on scrap. After that, keep a reliable router bit collection on hand, and every edge will dress up cleanly.