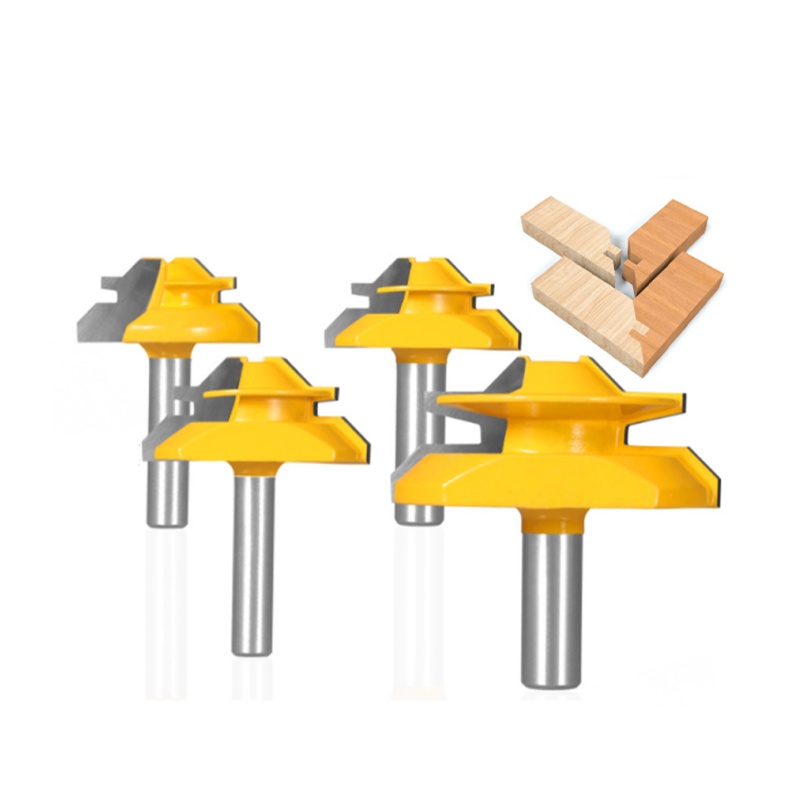
Height adjustment of woodworking router bit ‑ Adjust tool height according to workpiece thickness. The upper and lower tooth profile of 45° lock miter router bit must match the plate thickness exactly. ‑ Trial‑cut scrap workpiece of same material and same thickness. Adjust up‑down position until the male and female lock teeth can fully engage. ‑ Too high: corner will produce gap and over‑cut; Too low: lock teeth cannot interlock tightly, joint will be loose.
Fence / guide rail adjustment ‑ Adjust fence forward‑backward position to control cutting depth. The fence must be kept parallel to tool rotation axis. ‑ After fence adjustment, lock fixing screws firmly to avoid position shift during continuous production.
Feed speed & spindle speed reference ‑ Spindle speed: 8000‑12000 RPM for solid wood; 10000‑15000 RPM for density board / particle board. ‑ Maintain steady and uniform feeding speed, do not push workpiece violently. Too fast feed leads to chipping; too slow feed causes board burning. Trial Cutting & Inspection Steps Use waste board with identical thickness and material for test cutting. Take two test pieces and assemble 45‑degree miter joint. Check lock‑tooth meshing condition: ‑ Good status: corners fit closely, no visible gap, lock teeth fully interlock. ‑ Gap at outer corner: slightly lower the tool height or fine‑tune fence backward. ‑ Gap at inner corner: slightly raise the tool height or fine‑tune fence forward. After passing test piece inspection, start formal batch processing. Re‑check tool height and fence position after processing dozens of workpieces to prevent position drift. Material Application Notes ‑ Solid wood: control feed speed to reduce edge chipping. ‑ Density board / particle board: choose carbide‑tipped 45° lock miter woodworking router bit, pay attention to tool wear condition. ‑ Veneer / melamine panel: adopt smaller cutting allowance, prevent surface layer tearing. Daily Maintenance After finishing work, clean wood chips and resin residue on cutting edge and flute with soft brush. Remove sticky resin with neutral cleaning agent. Check cutting edge for chipping, crack or wear regularly. Dull cutting edge will result in poor miter joint quality. Store woodworking router bit in dedicated tool box, avoid collision of cutting edge. Slightly worn tool can be sent for professional re‑grinding. Check collet clamping force regularly, replace aging deformed collet in time. Common Troubleshooting Corner splicing with obvious gap Cause: tool height incorrect, fence offset, collet loose resulting in tool run‑out Solution: redo height adjustment, calibrate fence, clean and tighten collet. Lock tooth cannot interlock, joint loose Cause: mismatched workpiece thickness, tool height not matched to plate Solution: use tool after adjusting with same‑thickness waste board. Workpiece edge chipping and tearing Cause: blunt cutting edge, feeding speed too fast, unstable workpiece clamping Solution: slow down feed rate, check tool wear, fix workpiece firmly. Board burning on cutting surface Cause: feed too slow, chip flute blocked, spindle speed not matched Solution: clean chip flute, adjust rotating speed and feed speed.