
Blog
Router Bit Chipping: Four Causes and Quick Workshop Fixes

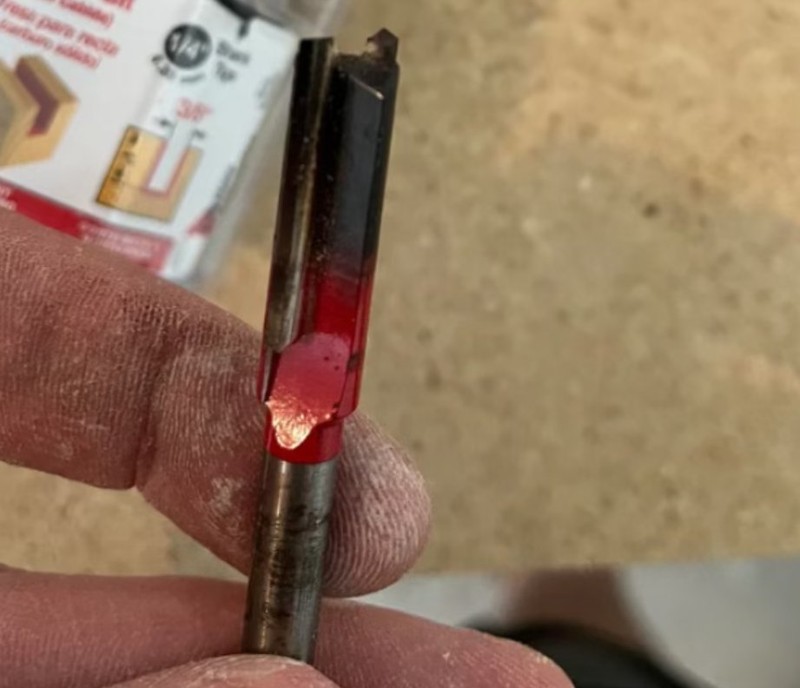
A small chip in a profile can waste an hour of work. Therefore, understanding router bit chipping saves both material and money. Most faults come from four causes, and each one has a simple fix.
This guide works through those four causes in order. Then we cover burn marks and vibration. Finally, a short fault table points to the answer quickly.
The Four Causes of Router Bit Chipping
Almost every chipped edge traces back to one of these problems.
- A cut that is too deep for the cutter to clear.
- A feed rate that fights the rotation of the cutter.
- A material fault, such as a knot or a loose veneer face.
- A setup fault, such as vibration or a loose collet.
Therefore, work through this list before you blame the tool. In practice, the cutter is rarely the cause of router bit chipping.
Meanwhile, keep a sharp cutter in the machine. A dull edge needs more force, and more force means a larger chip when the edge finally fails.
Cause One: Too Much Depth
Depth of cut loads the edge, so a heavy pass overloads a small cutter. Because the tip takes the full load at once, the brittle carbide snaps.
Therefore, limit each pass to about half the cutter diameter in hardwood. For deep grooves, use three light passes instead of one.
In addition, clear the chips between passes. Because packed chips recut the edge, the tool works harder than it needs to.
Cause Two: Feed Rate That Fights the Cut
Feed direction decides whether the cutter pushes wood away or pulls it in.
Feeding with the rotation is the safe default. Meanwhile, a climb cut takes the fibres from the other side and can pull the work forward.
Because a climb cut removes material quickly at the entry, it can chip a thin edge. Therefore, keep it for a light finishing pass only.
In addition, keep the feed steady. A pause in the middle of a pass lets the edge rub, and rubbing leads to both burning and chipping.
Cause Three: Material and Grain
Some materials punish a cutter far more than others.
- A hidden knot can stop a small cutter dead.
- Loose veneer on plywood tears away at the exit edge.
- Frozen or brittle stock chips more easily than dry wood.
- Abrasive board dulls the edge quickly, so chips follow sooner.
- End grain at a corner takes the highest load of all.
Therefore, inspect the stock before every cut. Because a knot is easy to see, you can plan the pass around it.
For veneered board, a down-shear cutter protects the top face. As a result, the surface stays intact and the edge holds.
Cause Four: Setup and Vibration
Vibration punishes the edge as much as a heavy cut does.
- A loose collet lets the cutter move and chip.
- A shank that is not fully seated adds runout.
- A worn bearing makes the cutter wander along the edge.
- A fence that is not square forces the work into the cutter.
- A large cutter on a small shank flexes under load.
Therefore, check the collet and the bearing before each session. Because both parts are cheap, replacing them early prevents router bit chipping later.
Meanwhile, listen to the machine. A rising note or a new rattle usually means the setup has moved.
When the Edge Blackens and Burns
Burn marks look like a speed problem, yet the feed usually causes them.
A slow feed lets the edge rub the surface. Because friction builds heat, the wood scorches and the resin hardens on the tip.
Therefore, raise the feed and lower the depth before you change the RPM. In practice, that pair solves most burning complaints.
After that, clean the dark resin from the flutes. Because a coated tip holds resin, a resin remover restores the edge quickly.
A One-Line Fault Table
Match the symptom, then apply the fix.
- Chipped tip after a deep pass: reduce the depth and add a pass.
- Burn marks along the edge: raise the feed and lower the depth.
- Fuzzy surface at the exit: support the edge with a backing board.
- Cutter wanders off the line: check the bearing and the collet.
- Rising vibration: stop, then reseat the cutter in the collet.
Because one symptom can have two causes, change one thing at a time. Then test again on scrap.
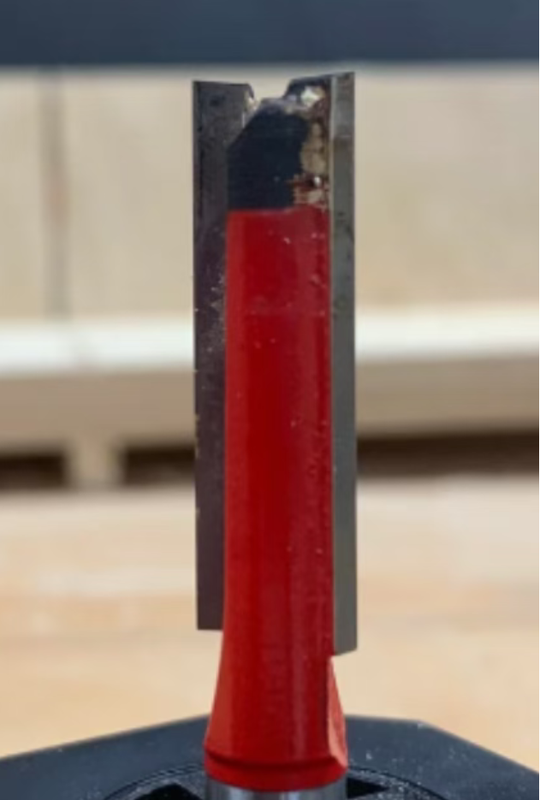
For tooling that resists chipping, pick a cutter with a sound carbide grade. Compare options in a wider router bits range before you replace the damaged one.
FAQ
Can a chipped bit be repaired? A tiny nick can be touched up. A broken tip means replacement.
Why does router bit chipping happen on new cutters? Usually the depth or the feed is wrong, not the tool.
Does a bearing stop chipping? No, but a clean bearing stops the wander that causes it.
Four causes cover almost every failure, so check them in order. Set a light depth, feed steadily, and keep the setup tight. Then add a reliable router bit collection, and a chipped edge will become rare.