
Blog
Wood Router Bits: Why They Break and How to Fix It

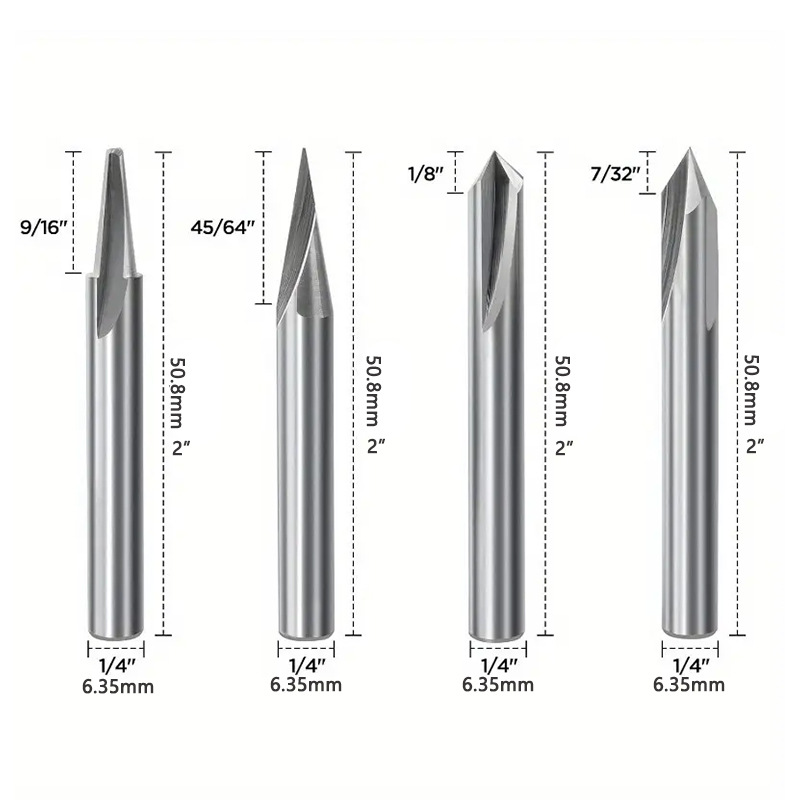
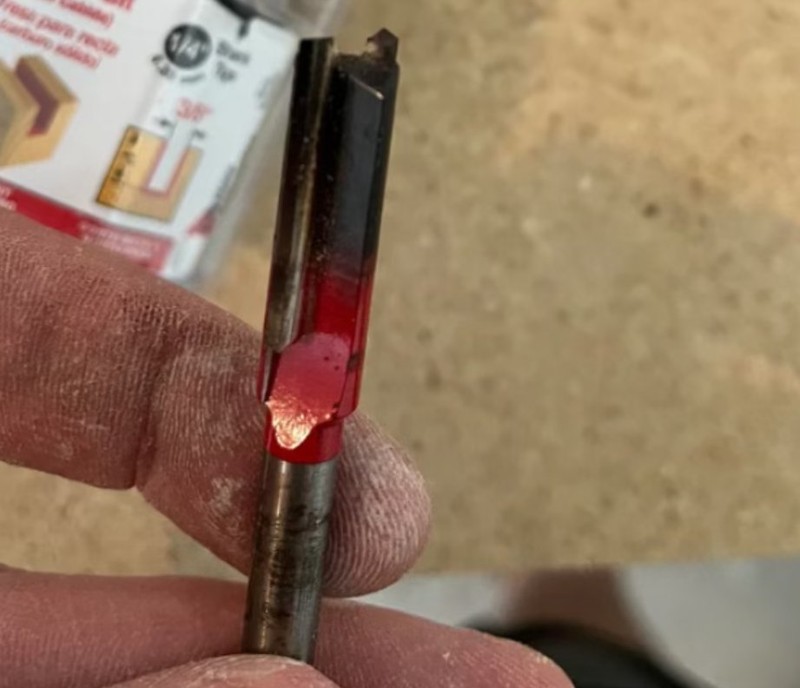
Few things stall a woodworking project faster than a snapped cutter. Yet most cases of wood router bits breaking are not defects in the tool itself. They are the result of small mismatches between the machine, the material, and the settings. This guide walks through the most common causes of router bit breakage and the practical fixes that keep your cuts clean and your tools intact.

Balance Feed Speed and Spindle RPM
Feed rate and spindle speed must work together. When you push the workpiece too fast while the rpm stays low, the bit takes an oversized bite and the lateral force snaps it. Lower the feed, or raise the spindle speed, until the load feels even. As a rule, keep the rotation between 18,000 and 24,000 rpm for most woods, and slow the feed on dense hardwood.
Reduce Cutting Load per Pass
Trying to clear too much material in one pass overloads the cutter. Reduce the depth of cut and make several lighter passes instead. This simple change removes strain from the edge and dramatically lowers the chance of a break. For thick stock, plan two or three passes rather than one aggressive cut. Likewise, keep a spare set of wood router bits on hand so a worn tool never forces a rushed, overloaded pass.
Shorten Tool Overhang and Clamp Firmly
A bit that sticks out far from the collet whips under load. Keep the exposed length as short as possible, and make sure the clamping length is at least four times the shank diameter. A short, well-gripped cutter stays rigid and resists the vibration that leads to fractures. Clean chips from the collet so it can hold with full force.
Keep Your Wood Router Bits Sharp
Dull edges drag instead of slicing, which builds heat and stress. Replace or re-sharpen worn cutters, or lower the cutting speed to extend their life. A sharp edge also produces a cleaner surface, so sharpening pays off twice. For carbide edges, use a diamond file and alternate flutes to keep the balance true.
Secure the Workpiece and Fixture
A workpiece that shifts mid-cut will break a bit in an instant. Improve your clamping so the stock sits flat and cannot move. Check the fixture for precision, and replace worn clamps. Equally, a loose spindle or collet must be adjusted before any cut, because instability travels straight into the tool. Even the best wood router bits fail if the stock moves, so double-check every clamp.
Improve Chip Evacuation
Heat and friction climb when chips cannot clear. Change your cooling method, or choose a tool geometry that ejects waste better. For resinous woods, clean the flutes often. When chips pack around the edge, the bit overheats and fails early, so good dust extraction matters as much as sharp steel. Proper storage of wood router bits also prevents edge nicks that later grow into cracks.

Match the Bit to Material and Machine
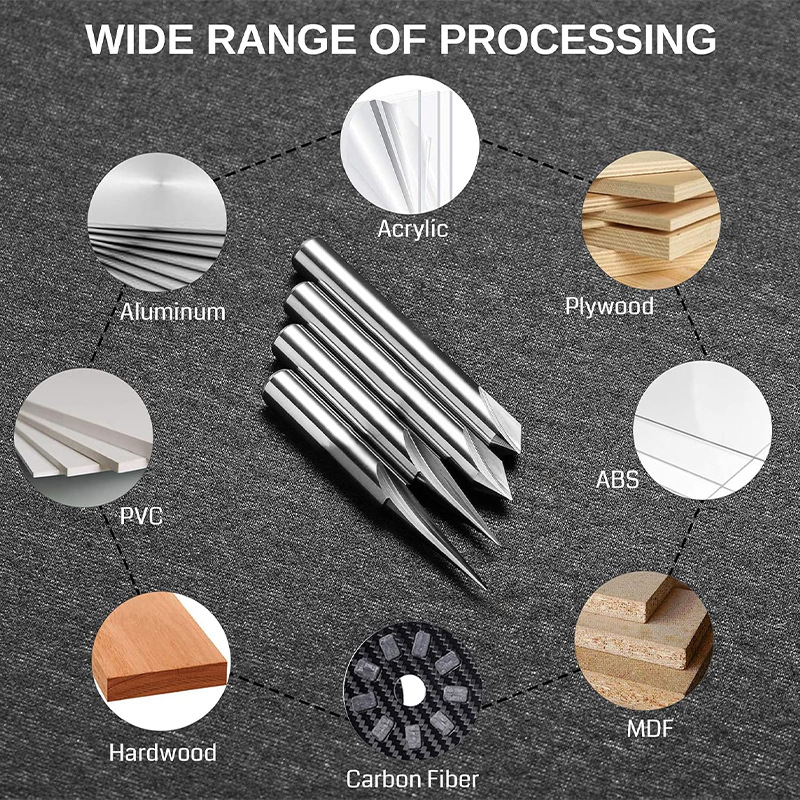
Match the cutter to both the stock and the spindle. Use high-speed steel for softwood and carbide for hardwood or composites. With a small low-power spindle, choose a small shank such as 3.175 mm or 4.0 mm. Keep a moderate feed to avoid strain. A powerful motor can handle a larger shank and run faster. Set the cutting edge length about 2 to 3 mm longer than the board thickness, but avoid an overly long edge on hard material. When cutting acrylic, keep the motor speed near 18,000 to 24,000 rpm. Browse our full range of wood router bits to compare profiles.
Choose the Right Bit for Engraving
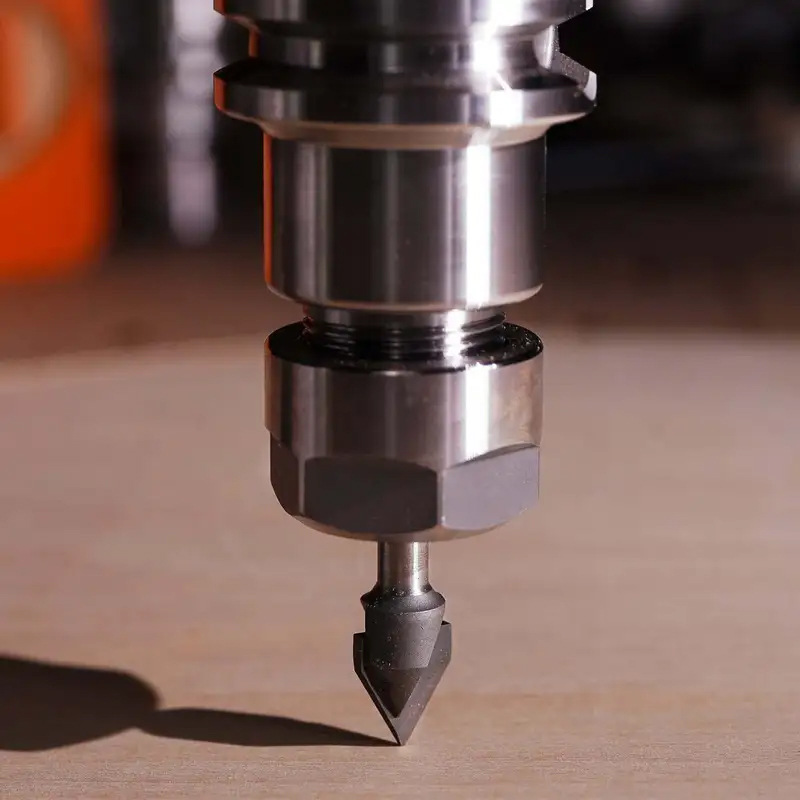
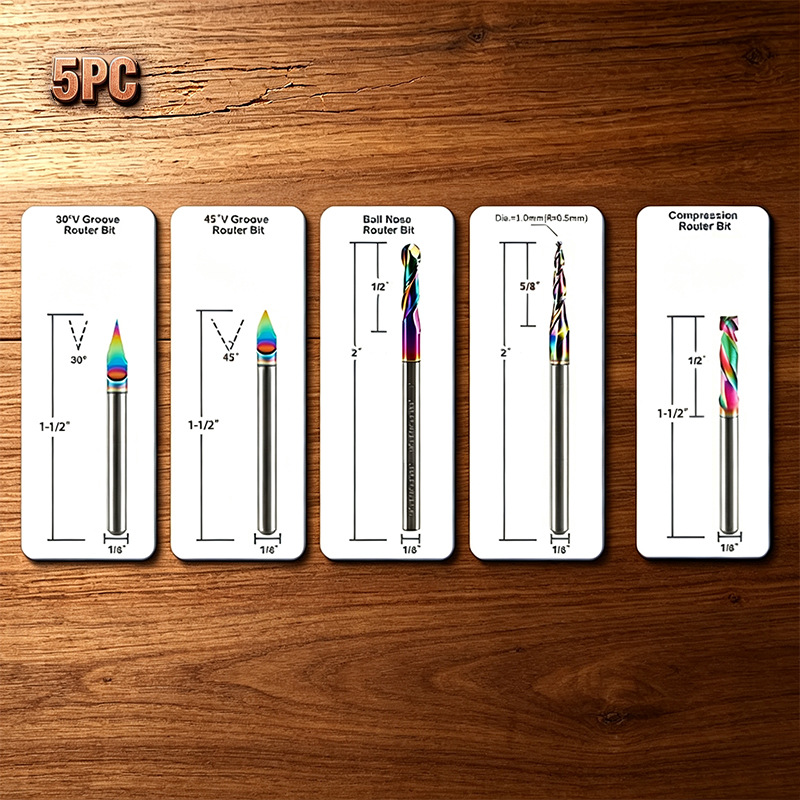
Engraving needs its own logic. For fine text and detailed patterns, pick a small-angle, small-tip bit so the detail stays crisp. For large lettering where precision allows, a bigger angle and tip cut faster. On harder materials, choose the larger angle and tip to keep the cut clean. Plan the toolpath so the bit angle and tip do the most work, which raises engraving speed without losing quality. When selecting wood router bits for engraving, start with the smallest tip the detail allows, then step up only when speed demands it.
Read the Warning Signs
Symptoms point to causes. Loud noise and low efficiency on a single-flute bit often mean the speed is too high or the collet is dirty. White edges, chatter, or a rough surface usually trace back to a worn edge, a loose workpiece, or a mismatch between rpm and feed. Vibration can come from a collet gripping too high on the shank. It can also come from an off-balance tool. Lower the grip point and check the spindle. Frequent breakage rarely has one cause. It is usually a mix of settings, machine accuracy, stock, and clamping, so review each link in the chain.
Conclusion
Breakage is rarely random. By balancing speed and feed, shortening overhang, keeping edges sharp, and matching the cutter to the job, you protect your wood router bits and your schedule. Treat the cutter like the precision tool it is, and most snapped-bit headaches simply disappear.