
Blog
Wood Trimmer Bit Installation Guide: Step-by-Step Beginner Tutorial

A wood trimmer is a versatile essential tool for beginner and professional woodworkers. It handles edge shaping, grooving, trimming and decorative wood profiling. Unlike drills that focus on hole drilling, wood trimmers rely on high-speed rotating trimmer bits to reshape wood surfaces precisely. The machining finish, cutting stability and tool life largely depend on standard wood trimmer bit installation. Improper installation commonly causes excessive friction, overheating, bit damage and defective workpieces. This beginner-friendly guide covers pre-installation preparation, standardized step-by-step procedures and practical pro tips to help you install trimmer bits correctly.
Overview of Wood Trimmer & Trimmer Bit Basics
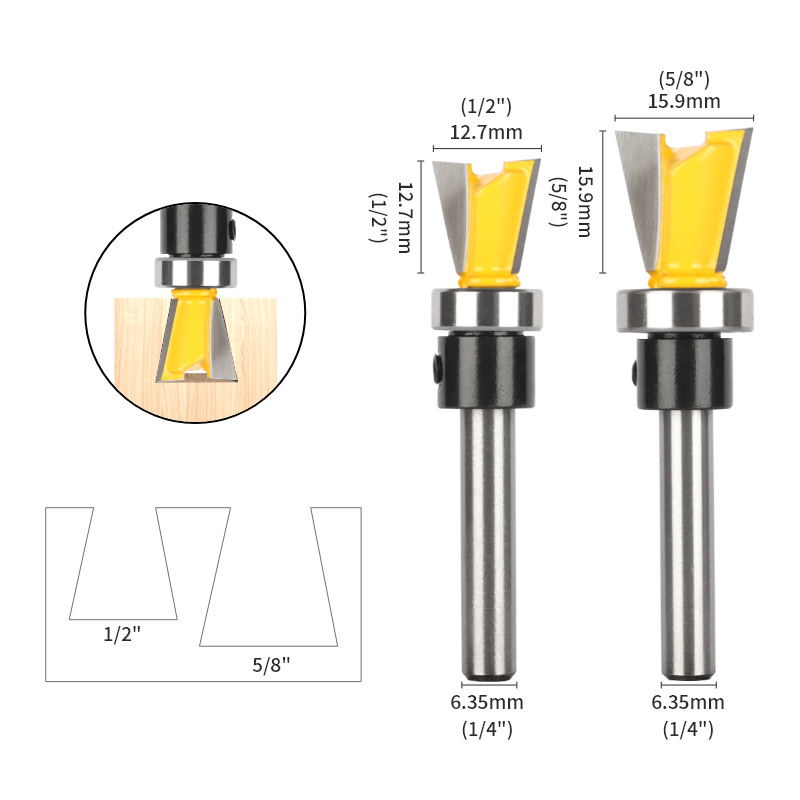
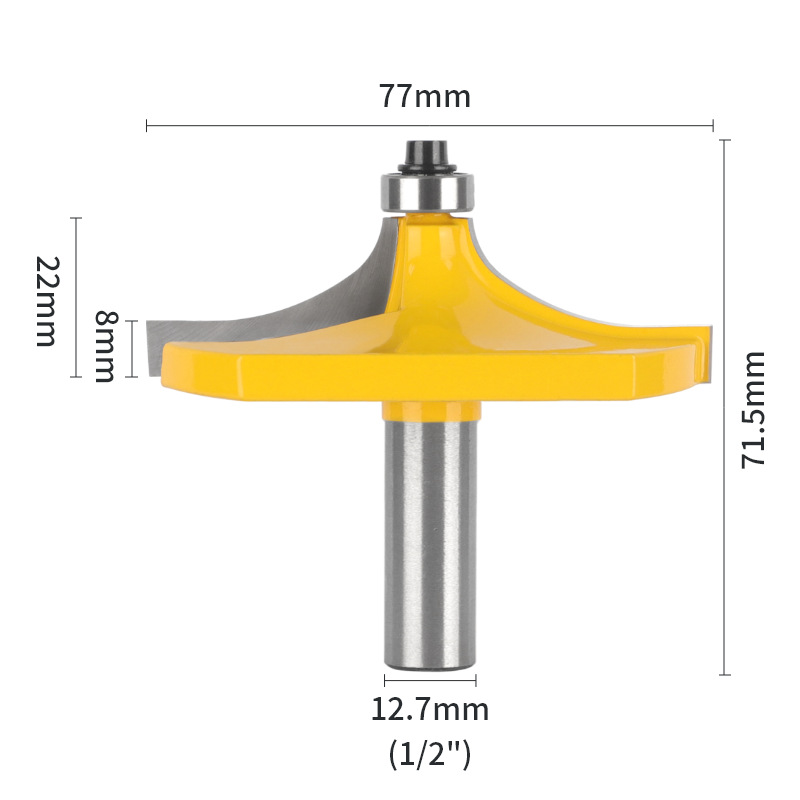
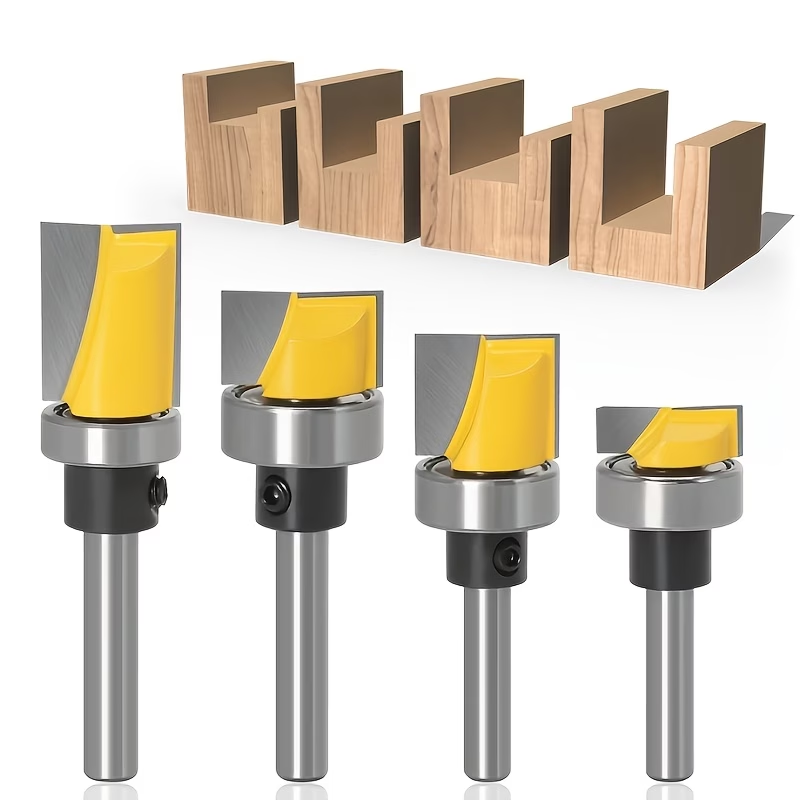
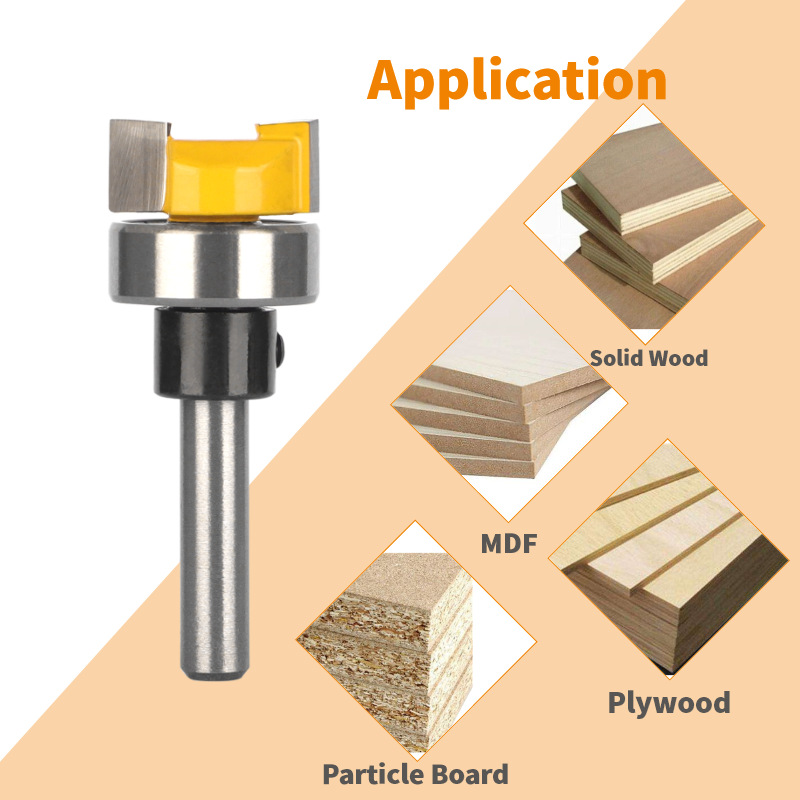
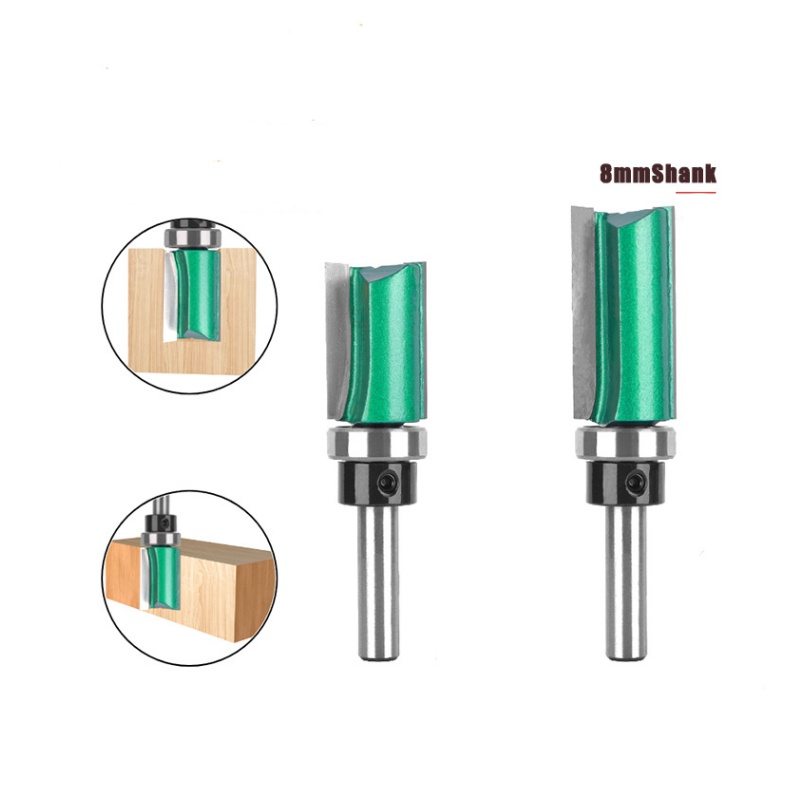
Wood trimmers feature a compact, lightweight design and flexible operation. They are widely used in furniture trimming, edge chamfering, groove cutting and DIY wood shaping. Paired with diverse trimmer bits of different shapes and sizes, they achieve various wood processing effects. Each trimmer bit has exclusive specification parameters and cutting performance, letting woodworkers select targeted tools for each project.
The coordination between the trimmer bit and collet is the core of high-precision machining. Only with perfectly fitted accessories and standardized installation can wood trimmers deliver stable cutting performance. Different bit diameters also correspond to matching rotation speeds. Correct bit installation is the premise of reasonable speed adjustment and efficient cutting. Mastering professional wood trimmer bit installation is a must-learn skill for every novice woodworker. For your next build, explore our complete trimming router bits collection.
Why Standard Trimmer Bit Installation Matters
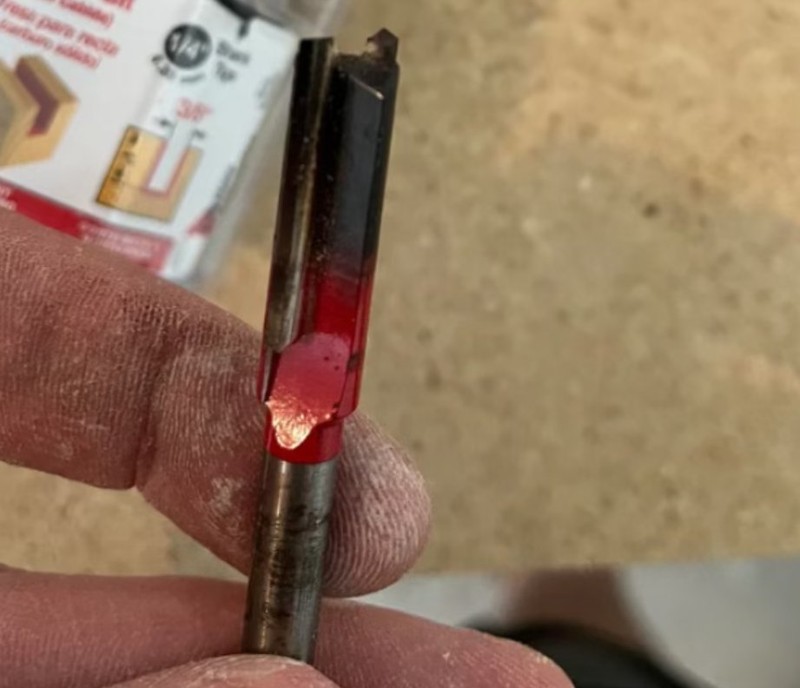
Many beginners ignore the importance of standardized bit installation. They simply fix the bit casually, which leads to hidden dangers during operation. Unstandardized mounting causes severe friction between the collet and bit shank. This generates excessive high temperature during high-speed rotation. Long-term overheating wears out and deforms the trimmer bit. It also damages the collet structure, causing tool shaking, unstable cutting and flawed surfaces. In severe cases, loose bits may pop out and cause safety accidents. Following complete installation specifications is critical for cutting quality, tool life and operation safety.
Complete Pre-Installation Preparation Work
Full preparation before installation avoids errors and later machining failures. Novice woodworkers must complete the following inspection and preparation steps before mounting any trimmer bit.
1. Select the Correct Trimmer Bit Size and Type
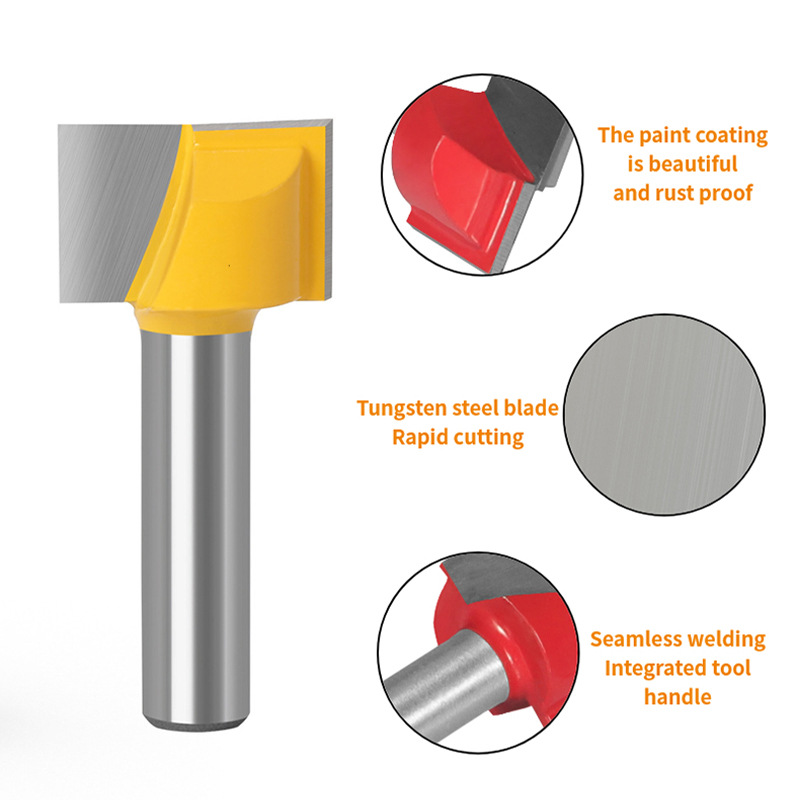
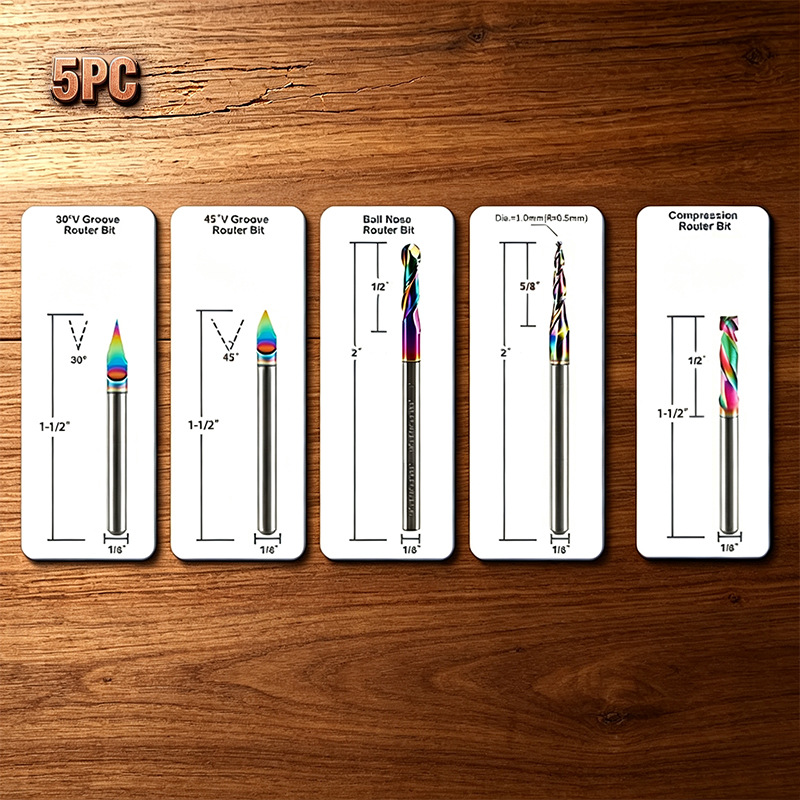
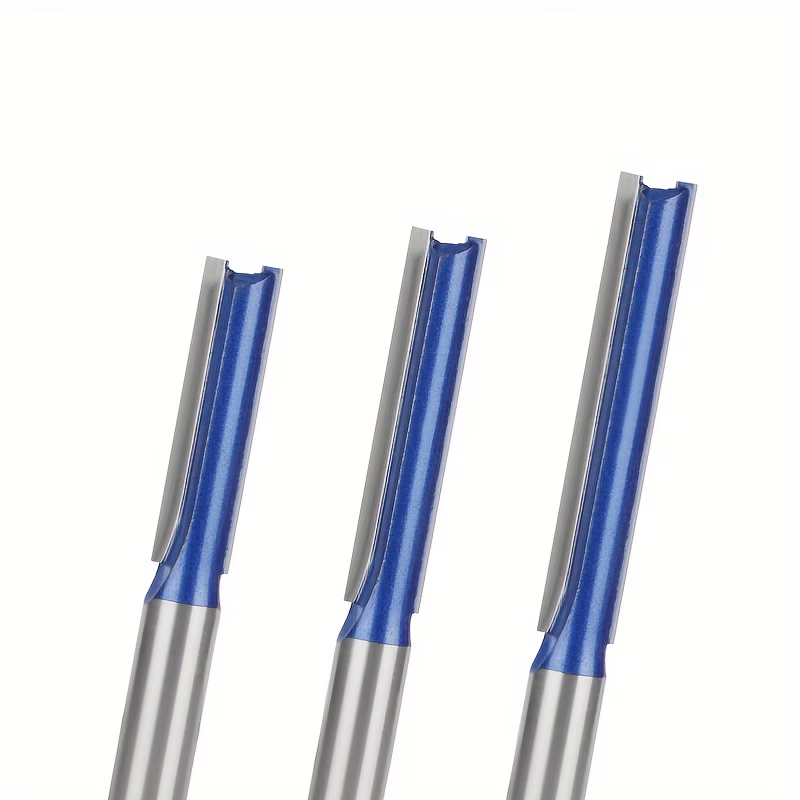
The first step is reasonable bit selection. Wood trimmers have multiple models and clamping calibers. Trimmer bits vary in shank diameter, shape and cutting performance. Match the bit shank size with the trimmer collet specification first. This avoids size mismatch that prevents normal clamping. Select appropriate bit types based on the processing scenario. For instance, flat bits have simple structures but lower efficiency in complex trimming, so they are not ideal for high-precision or high-load machining. Reasonable selection lays a foundation for smooth installation and efficient cutting.
2. Thoroughly Clean Trimmer and Bit Accessories
Dust, wood chips, resin residues and tiny impurities on the spindle, collet and bit shank are easily overlooked culprits of tool damage. Residual debris causes uneven fitting between the bit and collet. This leads to eccentric rotation and excessive friction during operation. Long-term dirt also causes metal oxidation and rust, worsening clamping stability and accelerating wear. Before installation, use a professional cleaning brush to remove all wood chips and stains. Clean the bit shank, collet inner wall and spindle interface thoroughly. Ensure all fitting surfaces are clean, dry and free of impurities for uniform clamping force and stable rotation.
Standard Step-by-Step Trimmer Bit Installation Method
Follow these steps in order for a safe, stable mount. Each step builds on the previous one, so do not skip any stage.
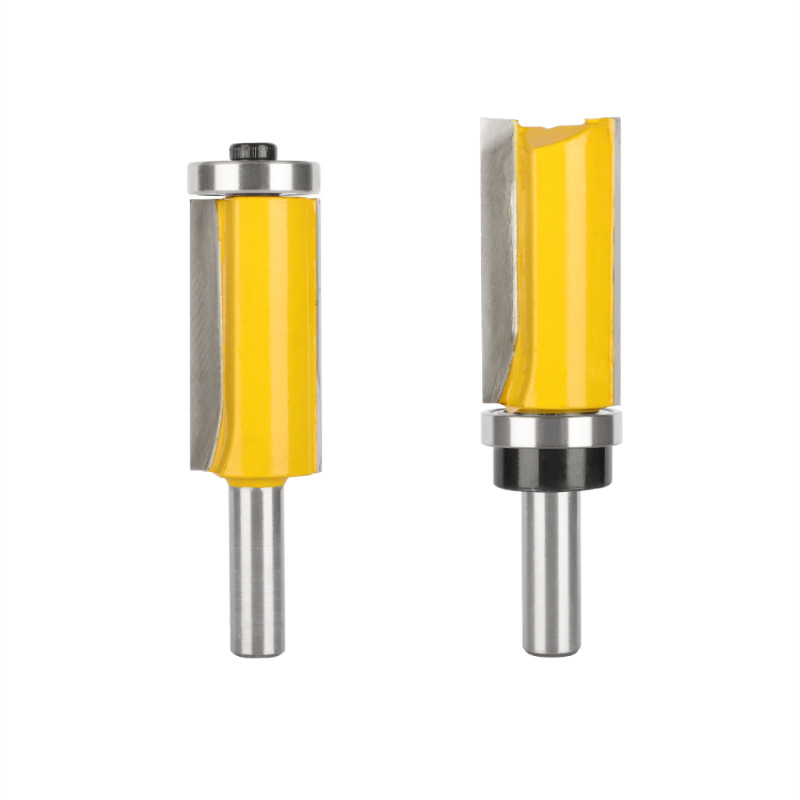
1. Insert the Bit Into the Collet in Place
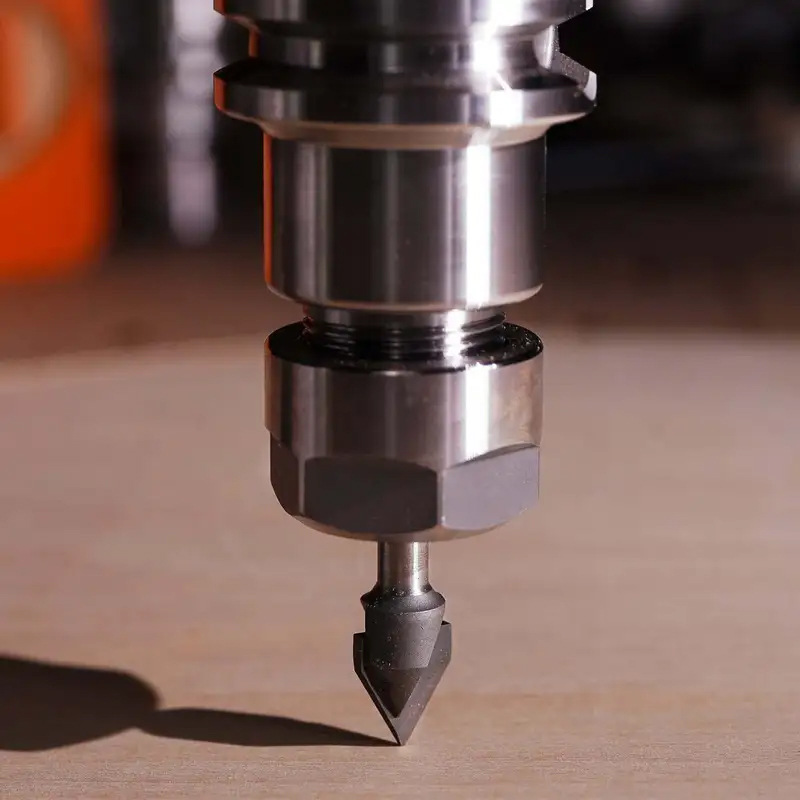
After preparation, insert the cleaned trimmer bit shank vertically into the collet. Push it fully to the bottom of the clamping cavity. Complete deep insertion ensures sufficient contact area between the shank and collet. This avoids insufficient clamping depth that causes tool shaking. Note that full bottom insertion should not be locked directly. After in-place insertion, pull the bit back by 1/6 to 1/8 inch. This reserved gap is a key professional detail. It eliminates rigid friction during high-speed rotation and reserves space for minor thermal deformation caused by cutting heat.
2. Lock the Collet Nut Correctly
After adjusting the insertion depth, fix the bit by tightening the collet nut. During high-speed cutting, friction generates heat and slight thermal expansion of the shank. If the nut is locked too tightly without a gap, the expanded shank squeezes the collet. This causes collet deformation, poor clamping accuracy and even permanent tool damage. Keep the bit at its optimal retracted position. Then tighten the collet nut evenly with a matching wrench. Ensure the clamping force is uniform and moderate. This firmly fixes the bit while reserving a reasonable thermal expansion gap for the best clamping state.
Practical Beginner Tips for Trimmer Bit Installation
First, always match the bit shank diameter with the collet specification. Unified specifications avoid eccentric clamping and tool runout. Second, never skip the bit retraction step after full insertion. Zero-gap clamping causes severe friction and high-temperature damage over time. Third, clean the collet and bit before each installation to prevent residual impurities from hurting accuracy. Fourth, avoid over-tightening the collet nut. Excessive locking force deforms the collet and affects repeated use. Standardized wood trimmer bit installation always starts with correct size matching.
Final Thoughts on Wood Trimmer Bit Installation
Standardized wood trimmer bit installation is the basic guarantee for high-quality trimming. From pre-installation size selection and cleaning to in-place insertion, depth adjustment and nut locking, every step determines stability, safety and service life. Novice woodworkers can avoid common installation failures by following this complete guide. Mastering these standardized operations helps maximize trimmer performance for precise, smooth and efficient woodworking results. To get started, browse our quality trimming router bits and pick the right cutter for your next project.
Frequently Asked Questions
How deep should I insert a trimmer bit?
Insert the bit fully to the bottom of the collet, then pull it back 1/6 to 1/8 inch. This reserves a thermal expansion gap and reduces operating friction.
Why clean the trimmer collet before installation?
Wood chips and resin residues cause uneven clamping, tool runout and excessive friction. This leads to poor cutting finish and tool wear.
What happens if the collet nut is over-tightened?
Excessive locking force deforms the collet and damages clamping accuracy. It can cause bit shaking or even tool breakage during high-speed operation.
Is bit size matching important for trimmer installation?
Yes. Mismatched shank and collet sizes lead to unstable clamping, eccentric rotation and inconsistent trimming results, which may cause safety hazards.