

Blog
1/4 Inch Roundover Bit: Woodworking Operation & Practical Applications

A 1/4 inch roundover bit ranks among the most versatile router cutters for woodworking. It softens sharp wooden edges, builds decorative profiles and shapes tenon stock with reliable results. This guide breaks down its specifications, common use cases and step-by-step workflows. It also covers safety rules and troubleshooting advice, so you get clean, consistent cuts every time.
Basic Tool Information
Tool Specifications & Core Benefits
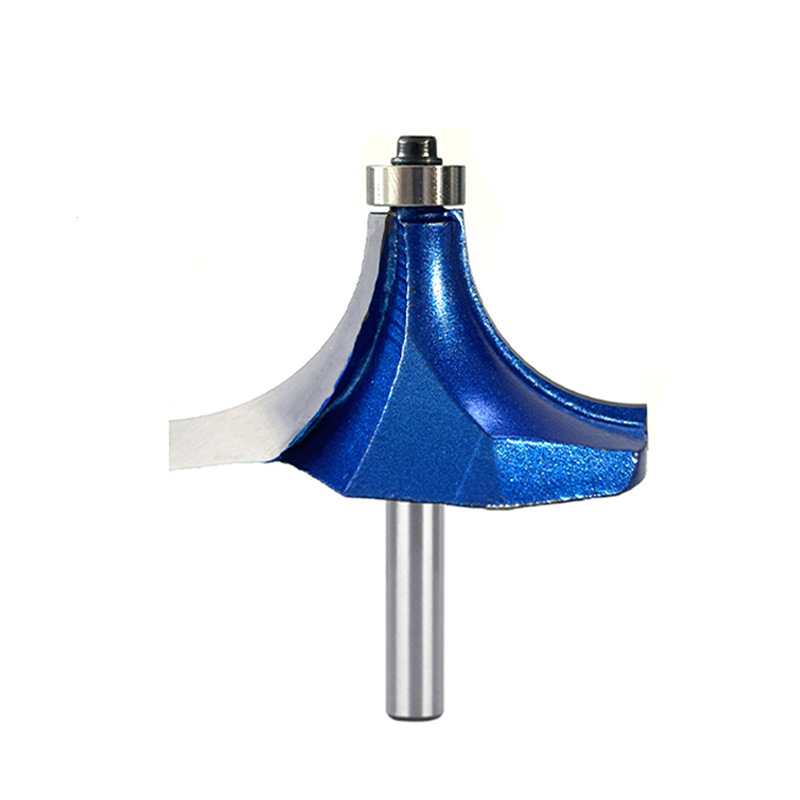
This cutter is a bearing-guided roundover bit built for wood routers. The 1/4 inch radius stands as a beginner-friendly standard size.
Its primary purpose is rounding sharp wood edges. Thanks to the built-in guide bearing, users do not need a separate fence for most edge work. The bit works equally well with handheld routers and router tables. Its moderate size also delivers broad compatibility across countless woodworking projects.
Core Application Scenarios
Scenario 1 – Edge Rounding Treatment
Use this bit on furniture panels, table tops and cabinet edges where sharp corners need softening. Removing harsh edges improves safety by eliminating cutting hazards, and it adds a gentle, refined visual finish to completed woodwork. Multiple profile options remain available depending on your project design.
Scenario 2 – Tenon Stock & Decorative Moulding Fabrication
You can machine 1/2 inch thick loose tenon stock and custom decorative wood mouldings with the same 1/4 inch roundover bit. Adjust cutter height and feed paths carefully during routing. That way the tool forms precise tenon shoulders or decorative moulding contours in a single setup.
Standard Operating Procedures
Workflow 1 – Basic Roundover Bit Machining
First, complete all preparation work before touching the wood. Secure your workpiece firmly, then double-check bit tightness, bearing rotation and router speed settings.
Next, perform the cutting pass. Maintain a steady feed direction and keep light cuts across multiple passes instead of one deep cut. Let the bearing ride along the board edge consistently throughout the process.
After routing finishes, carry out a final inspection. Check for splintering, uneven radii or profile distortion, then sand minor imperfections if required.
Workflow 2 – Tenon Stock & Decorative Moulding Making
Start with preparation for moulding or tenon work. Clamp your workpiece securely and set the bit height according to your target profile. Verify bearing contact, then make test cuts on scrap wood before working on your final piece.
Proceed with the cutting operation once your test sample looks correct. Adjust feed speed gently and watch bearing alignment continuously while shaping custom contours.
Finish with post-operation checks. Confirm tenon fit or moulding profile, and inspect edges for tear-out or uneven rounding before moving to assembly.
Critical Operating Tips
Prevent Tear-Out
End grain splinters far more easily than long grain. For this reason, route end grain first before working along the length of your board. Make multiple shallow passes rather than one heavy cut, and stick with grain-aligned feed directions to minimise breakout.
Profile Control
You can switch between plain rounded edges and stepped roundover profiles by changing cutter height and adjusting how the bearing contacts the workpiece edge. Small height adjustments create noticeable differences in your final profile.
Safety Guidelines
Hold the router perfectly vertical during operation, because tilting the tool will warp your finished contour. Never run the router without proper safety gear, including eye protection and hearing protection.
Bit Maintenance
Inspect cutting edge sharpness on a regular schedule. Dull cutting edges create rough surfaces and raise the risk of edge chipping. Sharpen or replace the bit once performance begins to degrade.
When Resharpening Is Not Enough: Carbide Inserts for Router Bits
A roundover bit eventually reaches the end of its sharpening life, because each regrind removes material and slowly changes the profile. At that point, production shops weigh two options: buy another brazed cutter, or move to tooling that uses replaceable carbide inserts for router bits.
Insert-based tooling suits high-volume work for a simple reason. Instead of removing the whole cutter for sharpening, you rotate or swap a single knife, and the cutting diameter stays constant. That keeps the roundover profile repeatable across long production runs and holds cost per edge far lower. Handheld and bench work rarely justifies the switch, but a shop running hundreds of metres of edge rounding every week usually does.
Whether you sharpen or replace, the rule stays the same: a sharp edge protects the workpiece. Our carbide inserts for router bits cover the common profiles used on rebate and rounding heads.
Common Issues & Troubleshooting
| Symptom | Possible Causes | Solutions |
|---|---|---|
| End grain splintering | Routing long grain first; overly deep single pass; cutting against the grain | Route end grain before long grain; use multiple light cuts; feed with the wood grain |
| Uneven rounded radius | Unstable router movement; loose installed bit | Maintain smooth, consistent travel; fully retighten the roundover bit |
| Distorted profile | Tilted router body; bearing not seated against the board edge | Keep the router vertical at all times; ensure constant bearing contact along the workpiece edge |
Key Takeaways
The bearing-guided design removes the need for a fence. Always route end grain ahead of long grain, and rely on multiple shallow passes to avoid tear-out.
You can switch profile styles by adjusting bit height. That flexibility makes the 1/4 inch roundover bit suitable for both tenon stock and decorative moulding work.
FAQ
Can I use a 1/4 inch roundover bit in both handheld and table-mounted routers?
Yes. Its built-in bearing works reliably in both setups, although router tables generally deliver smoother, more consistent edge rounding.
Why does my wood edge splinter while using a roundover bit?
Splintering often comes from incorrect cutting order or overly aggressive cutting. Route end grain first, and use multiple light passes to limit breakout.
How do I create a stepped roundover profile?
Raise or lower the bit to change bearing contact. This simple adjustment lets you switch between plain rounded edges and profiles with a shoulder step.
How long does a roundover bit stay sharp?
Edge life depends on the material and feed rate. On softwood and MDF, a carbide roundover bit handles long runs before it dulls, while hardwood and glue-heavy panels wear it faster. Inspect the edge regularly, and consider insert tooling, such as the carbide insert tooling for router bits, when regrinding no longer holds the profile.